reForis first steps⚓︎
You have your new Turris device and have started it for the first time. Assuming Turris is the gateway to WAN, the default address is 192.168.1.1. Open your favorite web browser and type the address 192.168.1.1 into the search/address field.
Tip
If you cannot see reForis GUI or anything like it on the 192.168.1.1 address, look up network settings in your system and focus on the Default gateway in your wired connection.
Setting the password⚓︎
The first step of the guide leads you to set up your router’s administrative password.
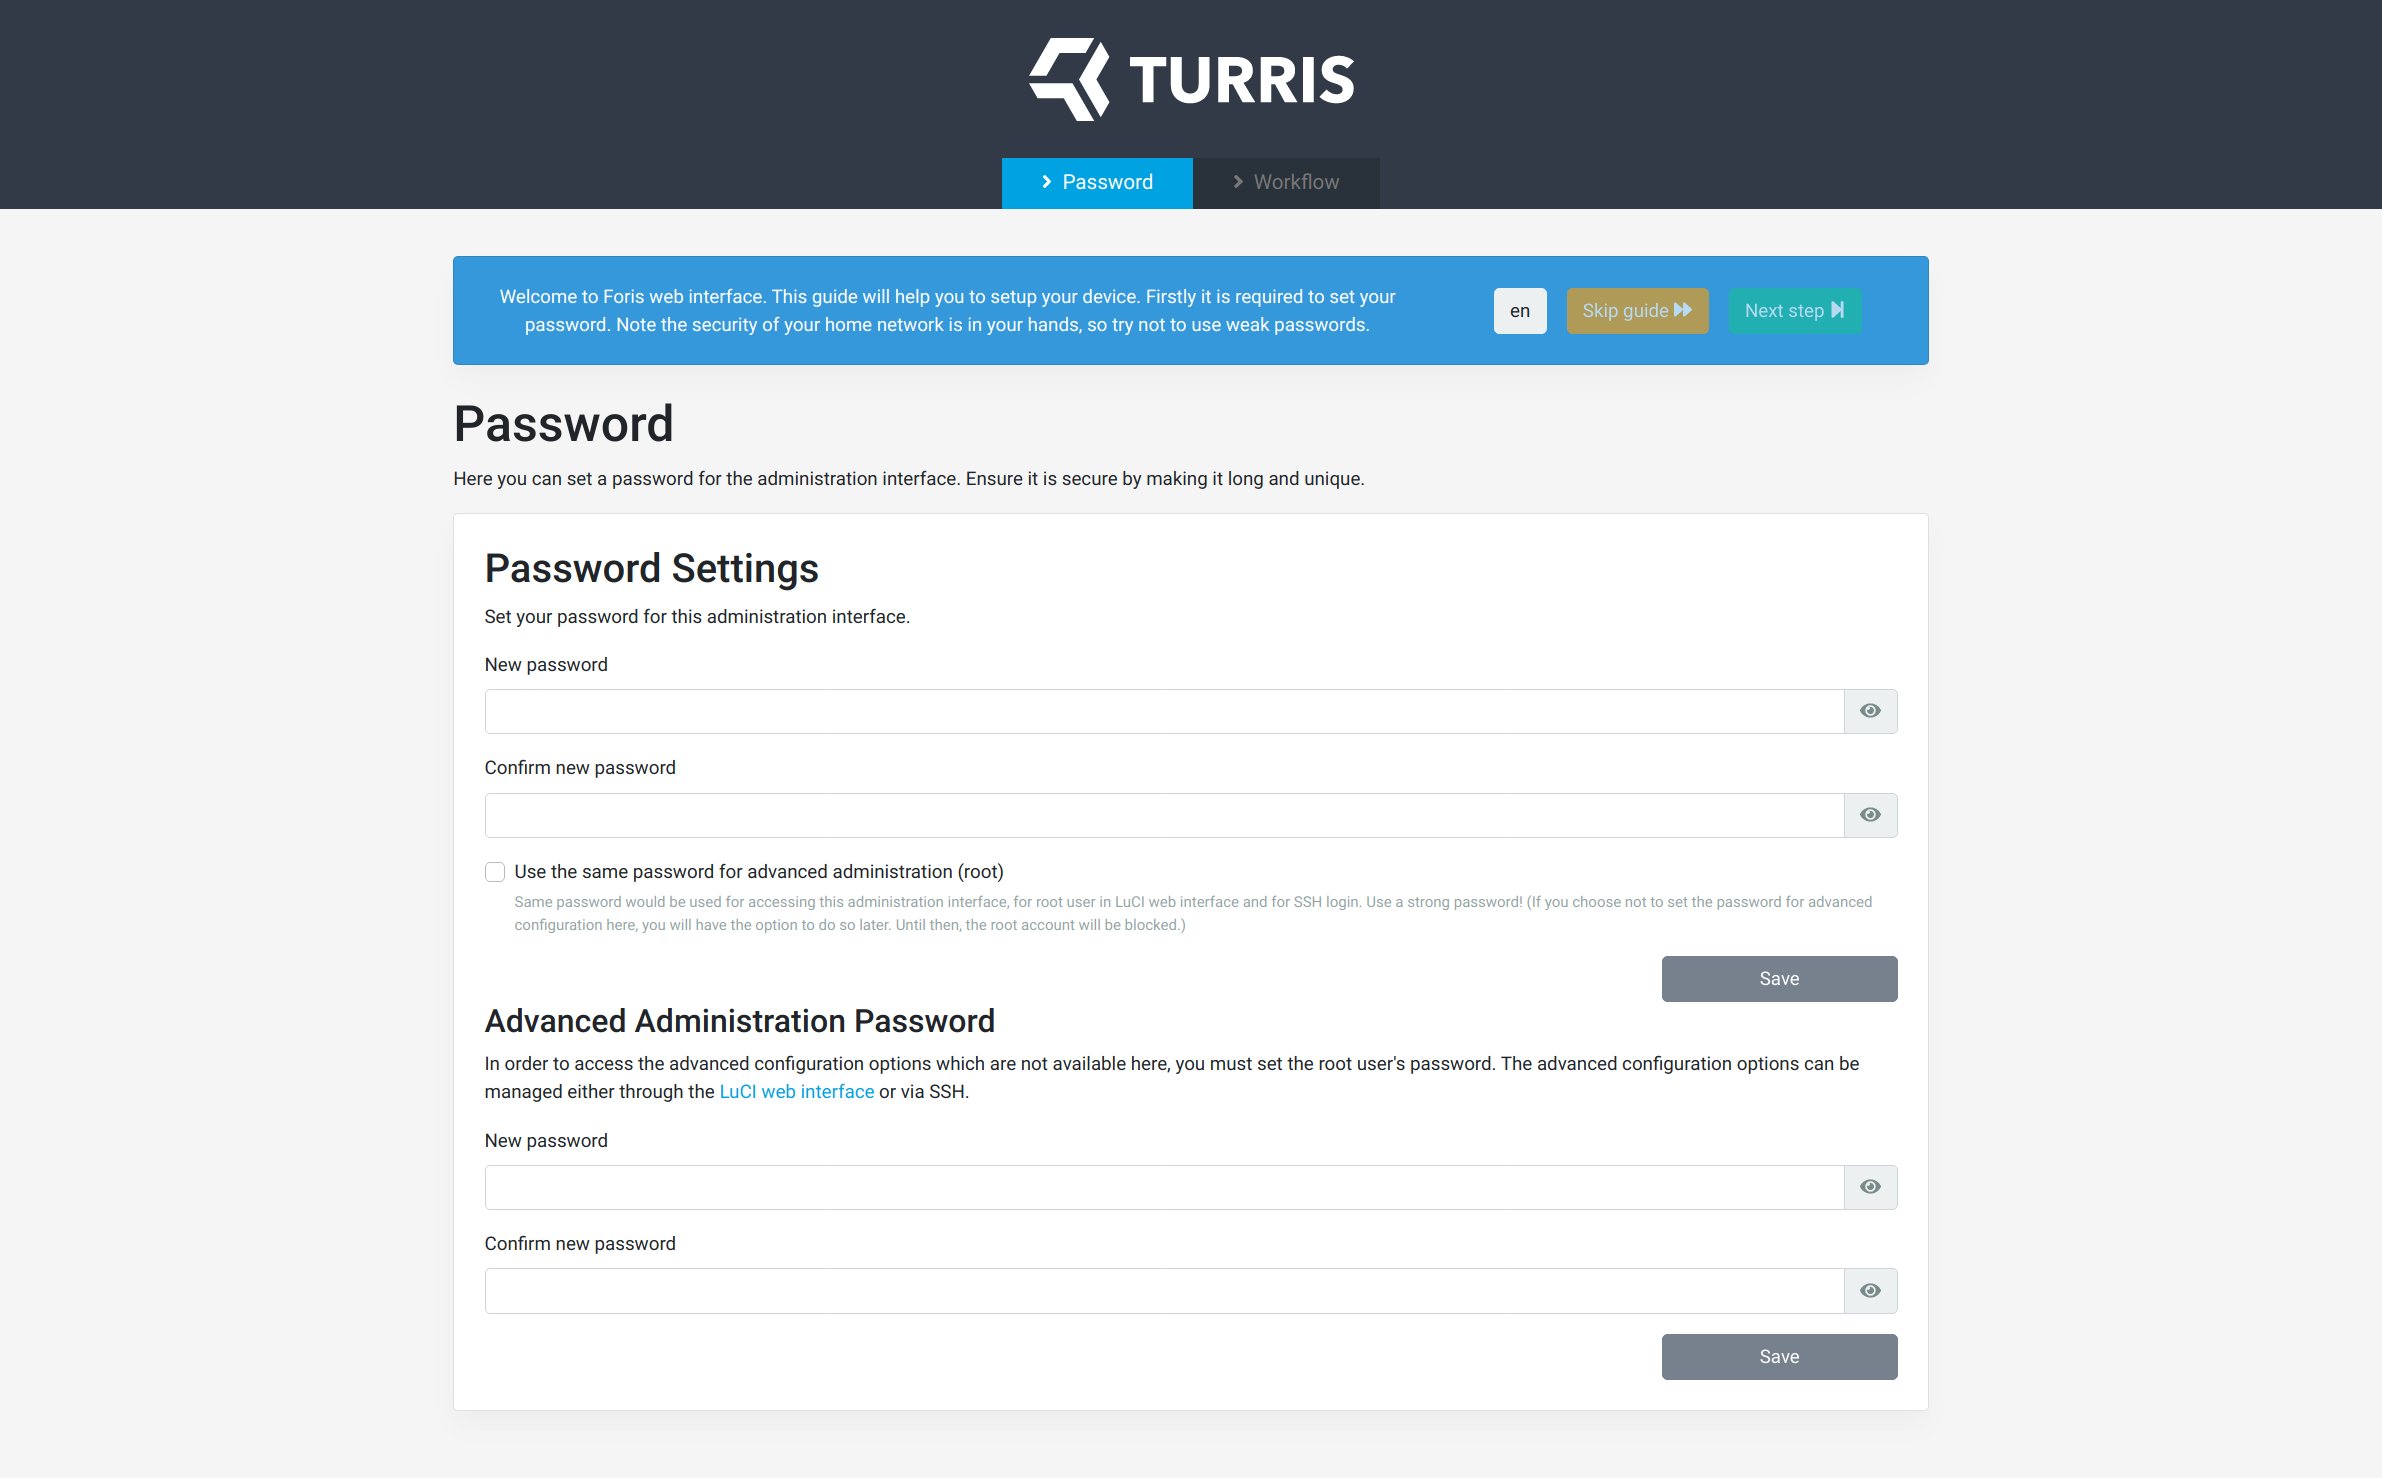
It is essential to have your router protected by a password before we connect you to the outside network. Your Turris router needs you to set up at least one, even though there are two types of passwords.
Turris password types⚓︎
| reForis password | Advanced Admin password | |
|---|---|---|
| reForis (web GUI) | ||
| LuCI (advanced web GUI) | ||
root access (ssh) |
Tip
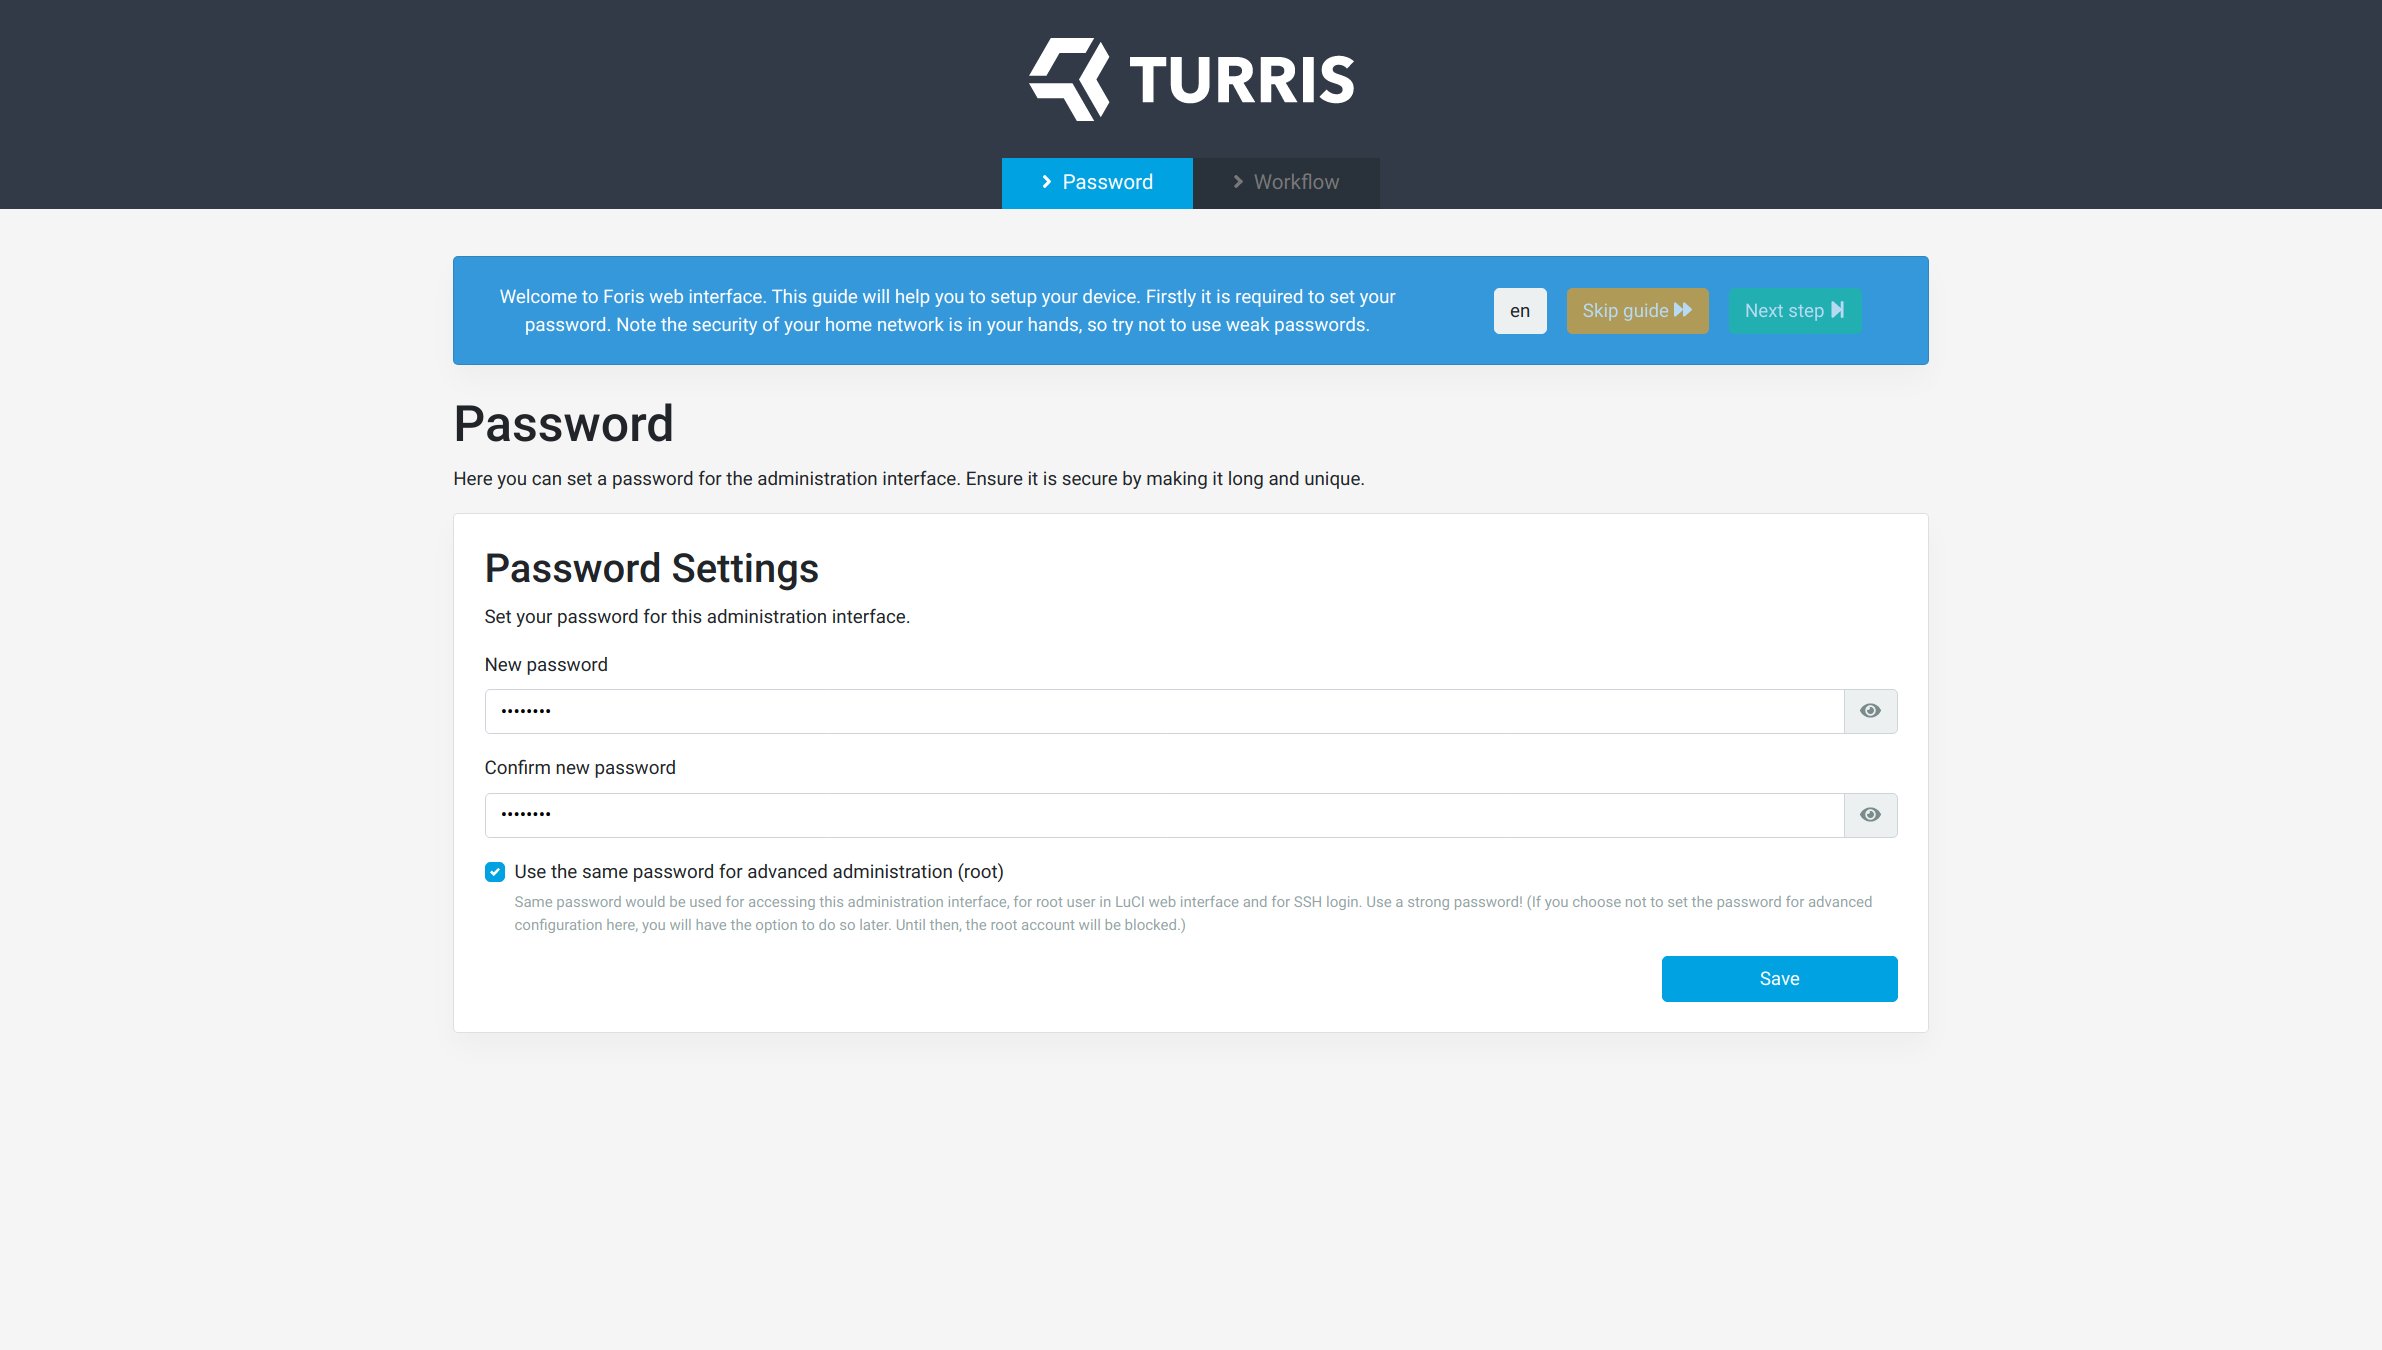
It is considered convenient to have passwords for each GUI separate. You are, however, given the option to tick Use the same passwordfor advanced administration and set up only one secret passphrase to any administrative means.
Guide’s workflow selection⚓︎
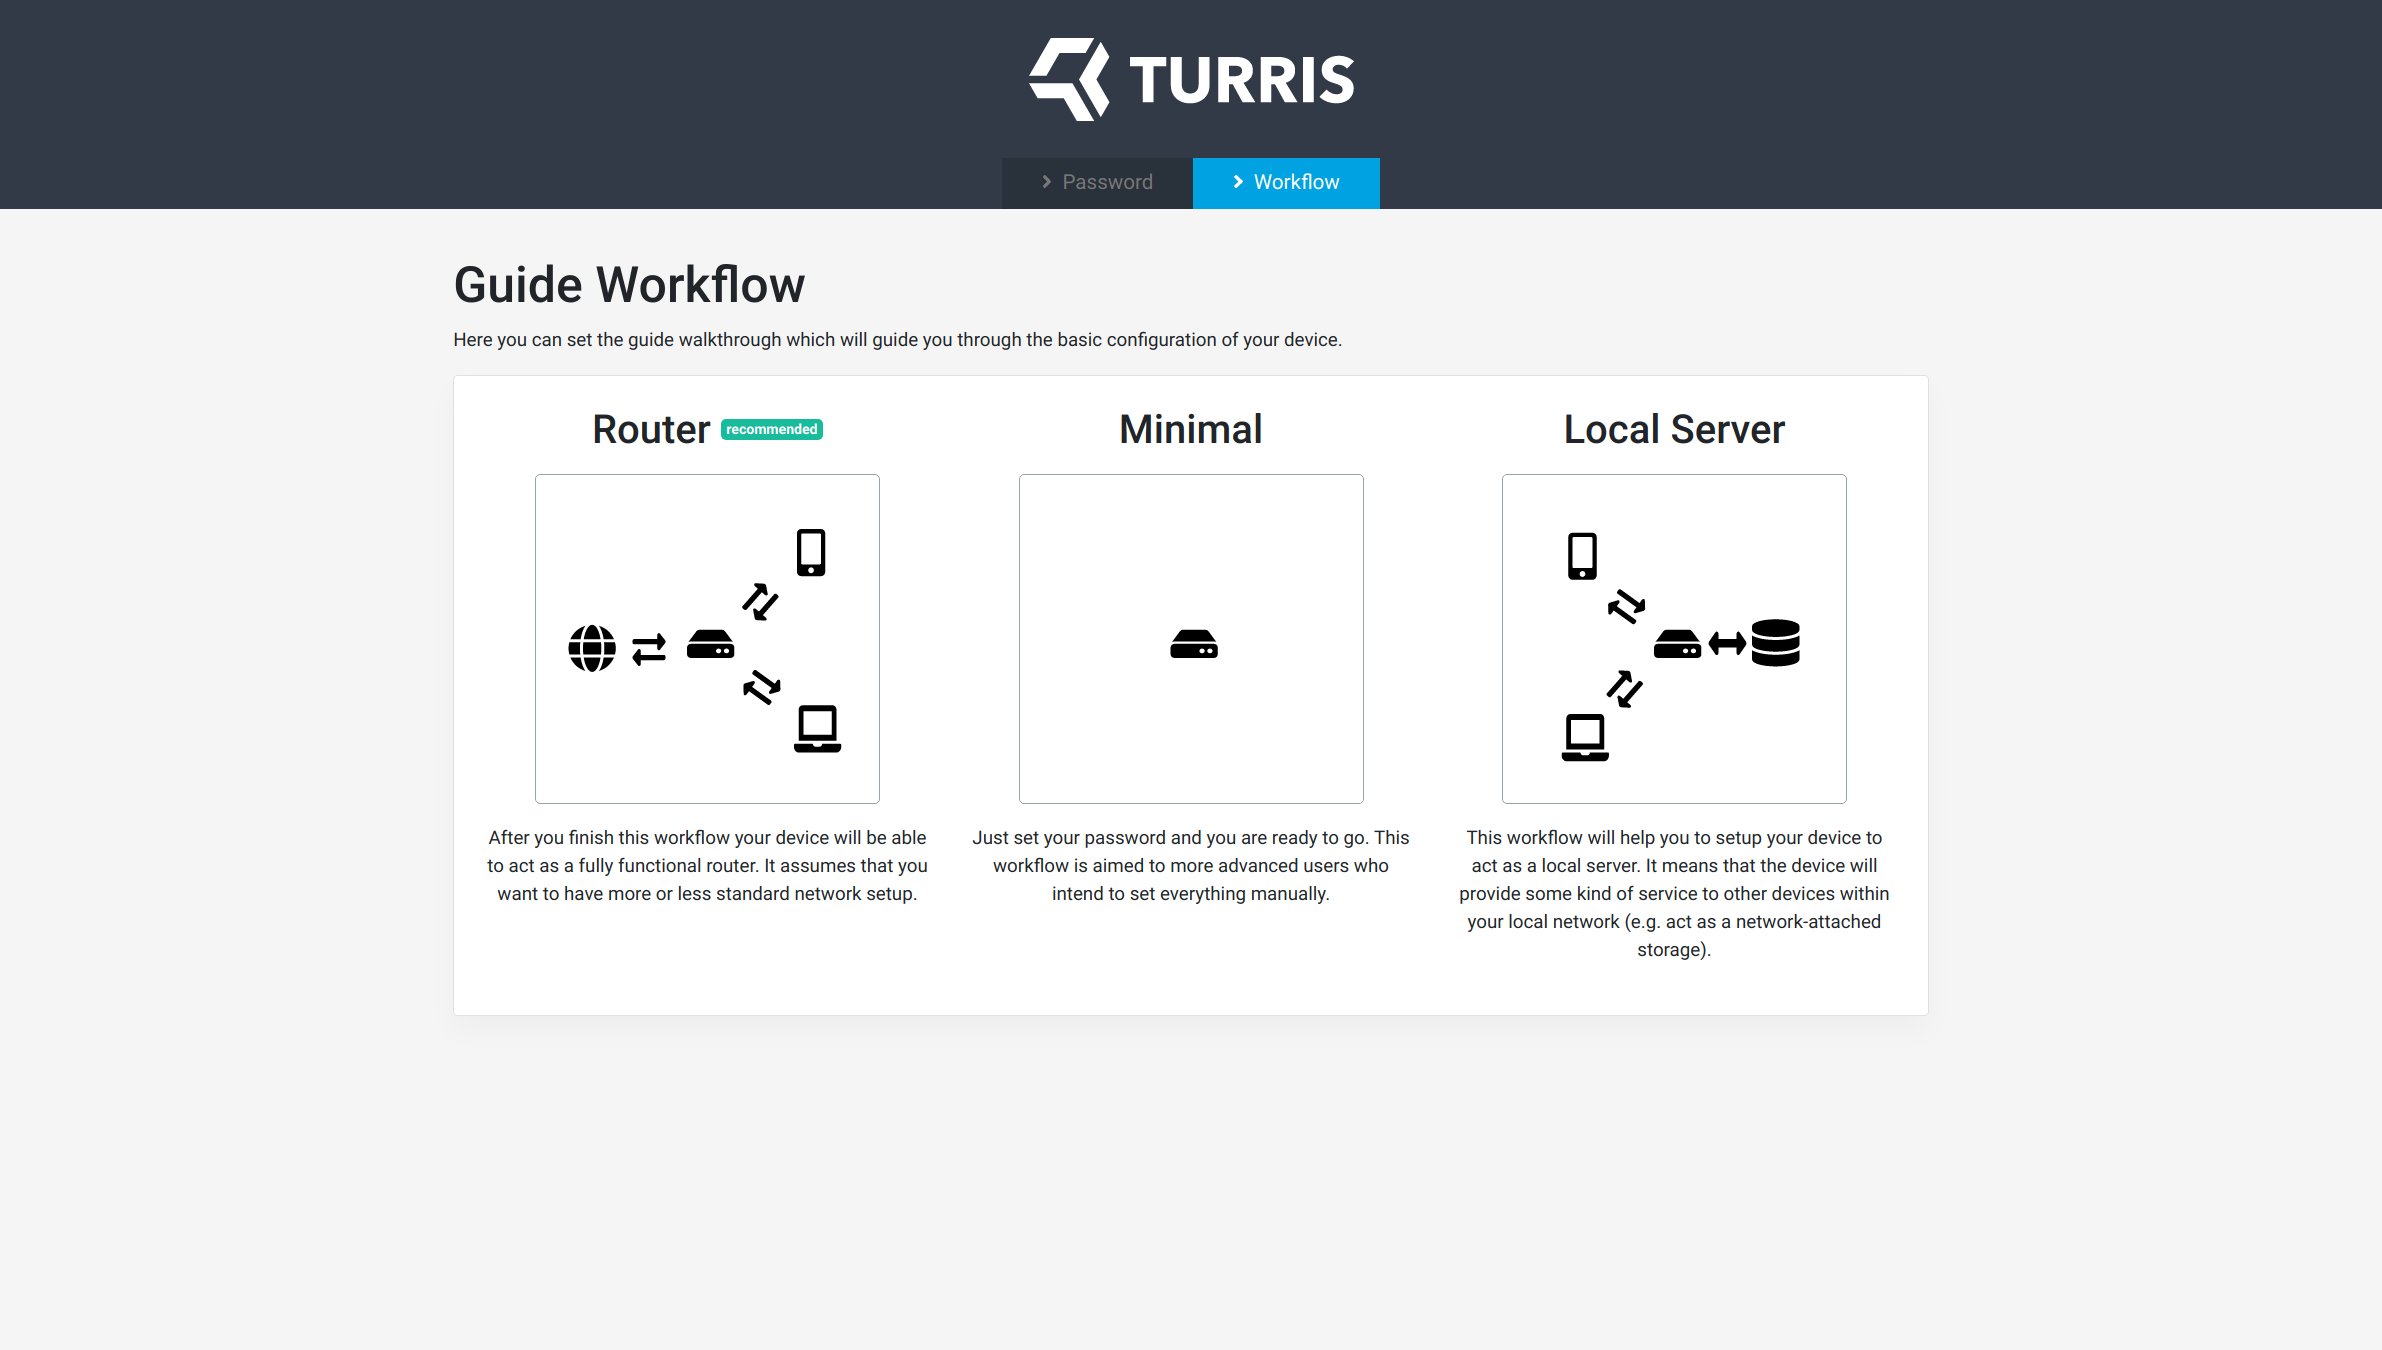
The Workflow setting is necessary to pick precisely at this point. After the password is set up and before all interfaces are adequately set up. You are recommended to choose Router workflow, although there are three choices.
Warning
Only pick something besides the Router option if you know what you are doing. The other options are for advanced users.
Interfaces⚓︎
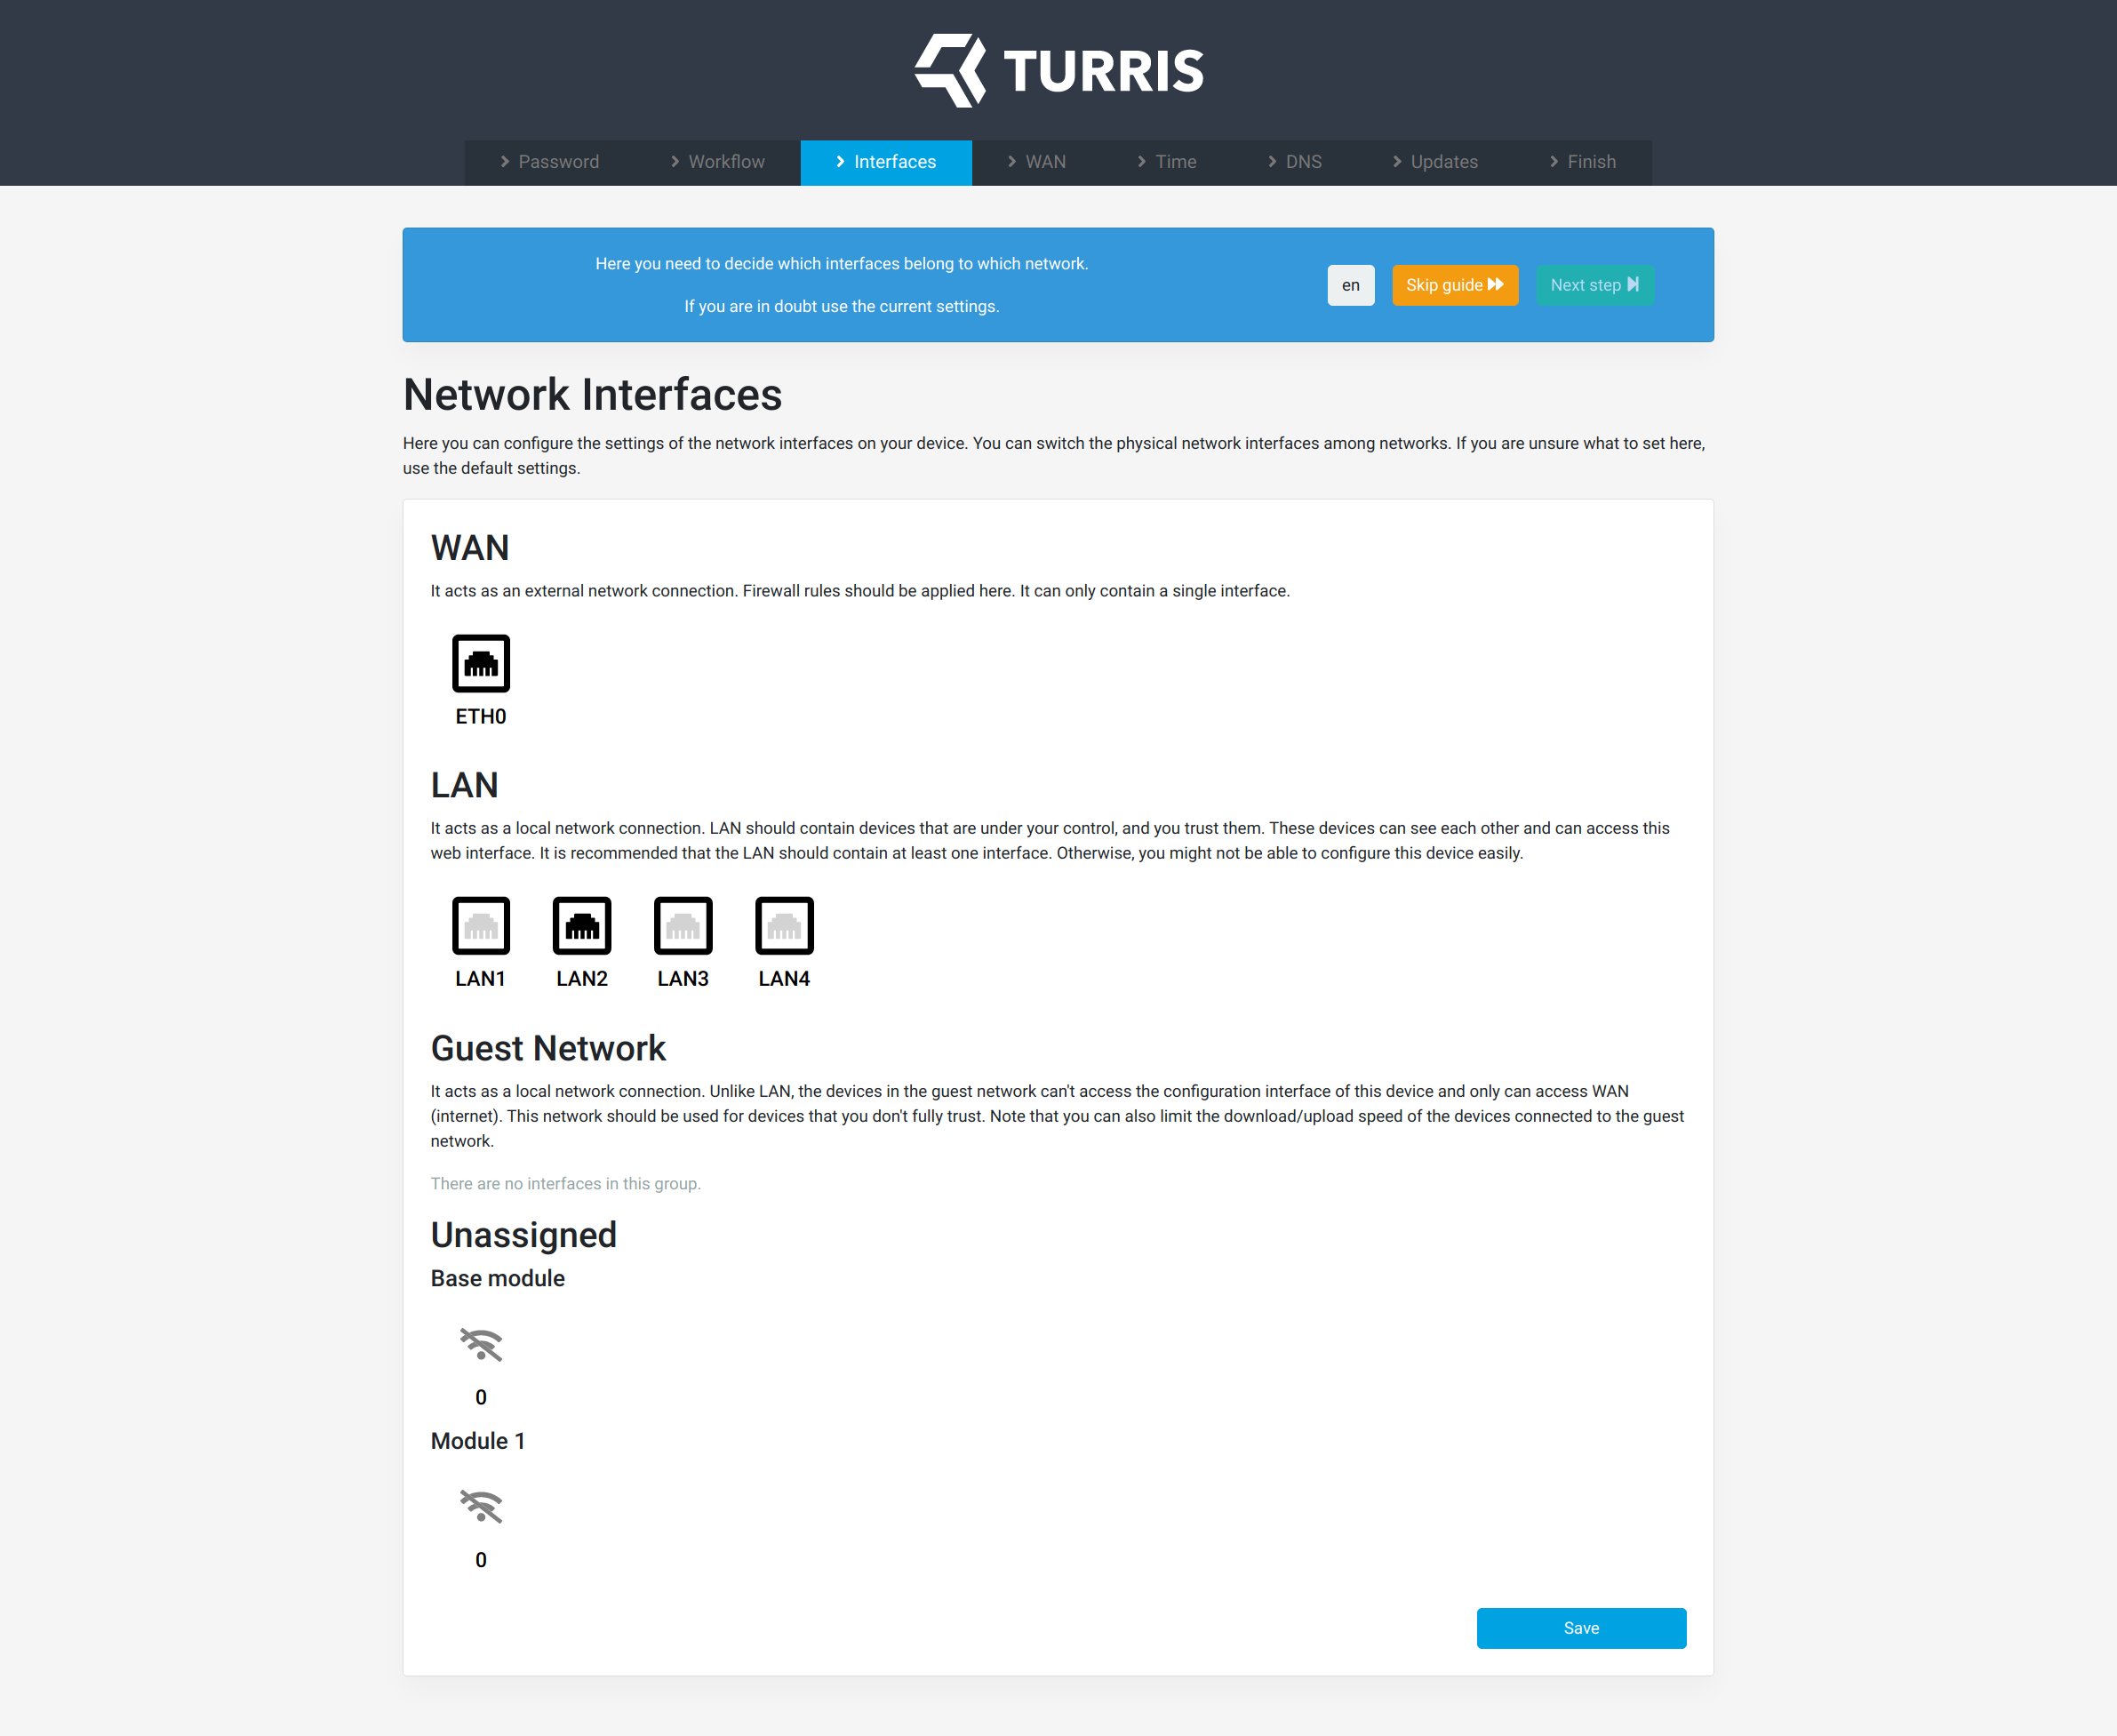
The Interfaces pane is where the layout can differ for each hardware combination. For example, q__Turris Omnia__ will have a different number and configuration of interfaces than MOX Start.
Tip
This screen is a bootstrap overview to check if everything is in order. You can always set the interfaces later if you wish.
Interface group types⚓︎
| Group | Abbreviation | Description |
|---|---|---|
| WAN | Wide Area Network | typically is the only interface connecting you to the outside world |
| LAN | Local Area Network | internal (home/office) network has no restrictions regarding connecting to other devices |
| Guest Network | internal network that is separate from LAN | |
| Unassigned Interfaces | orphaned interfaces that Turris could not assign to any above groups |
WAN⚓︎
Warning
Always be sure to check the initial connection instructions with your ISP.
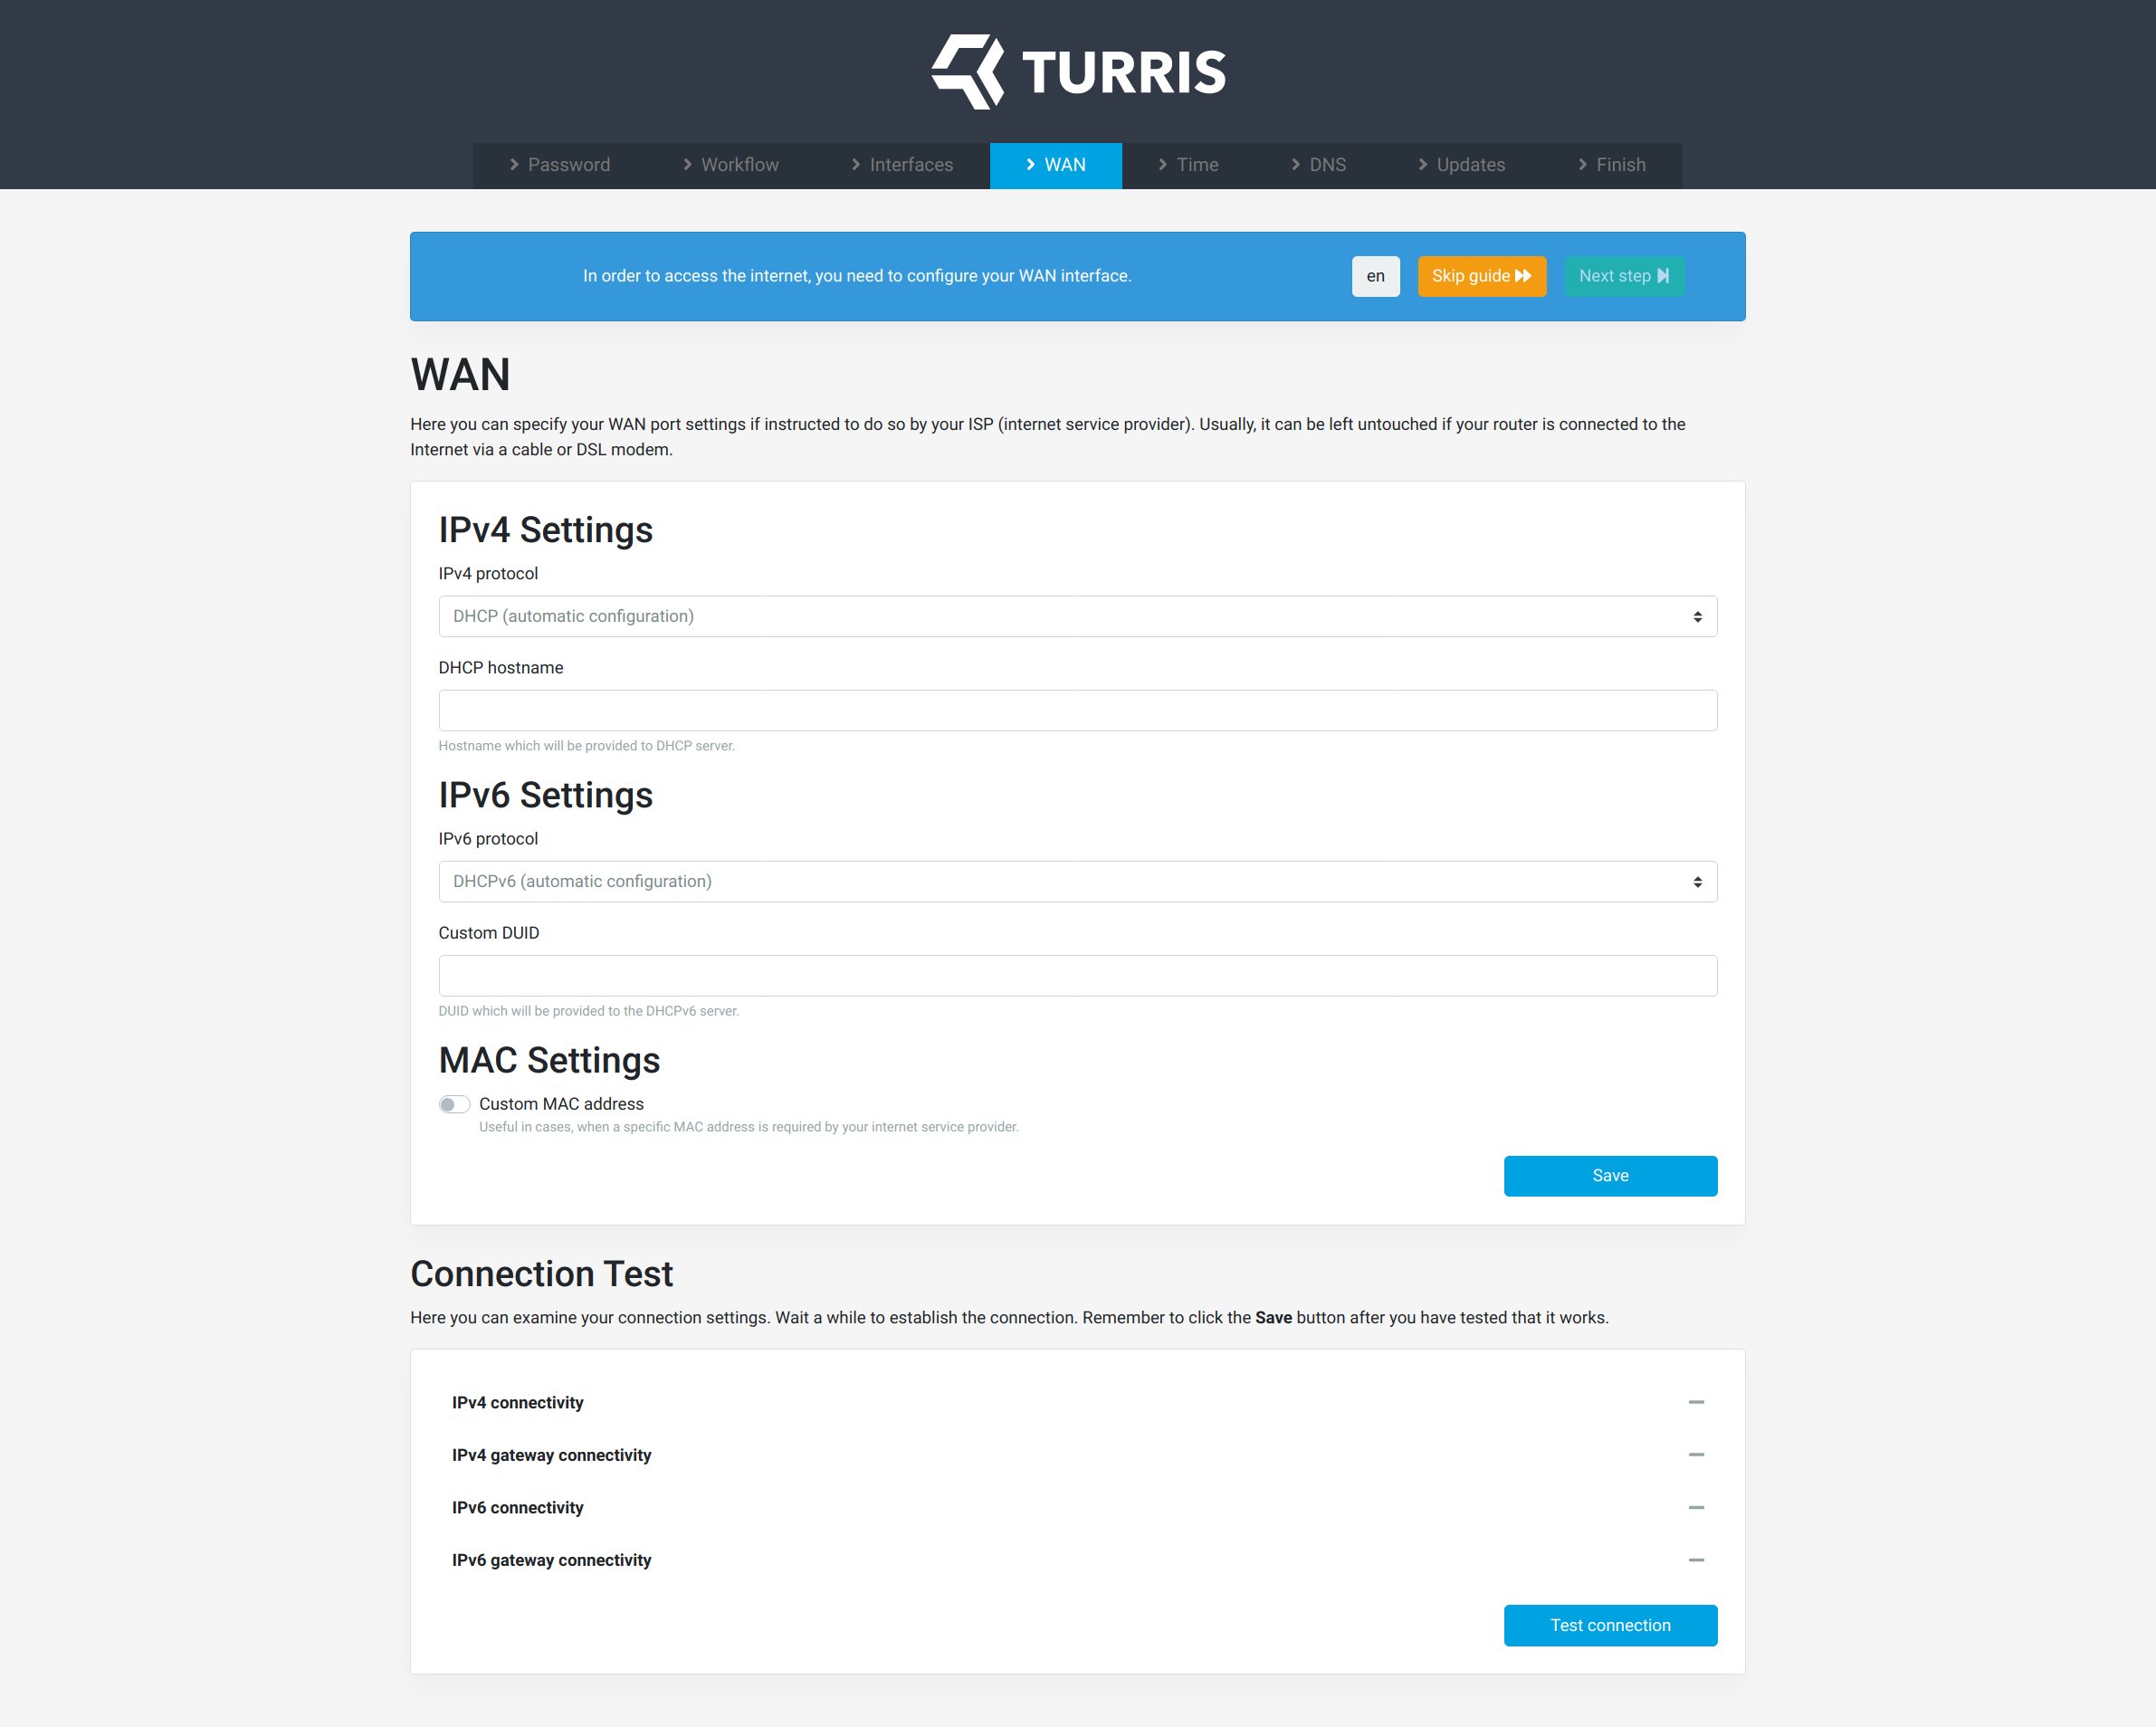
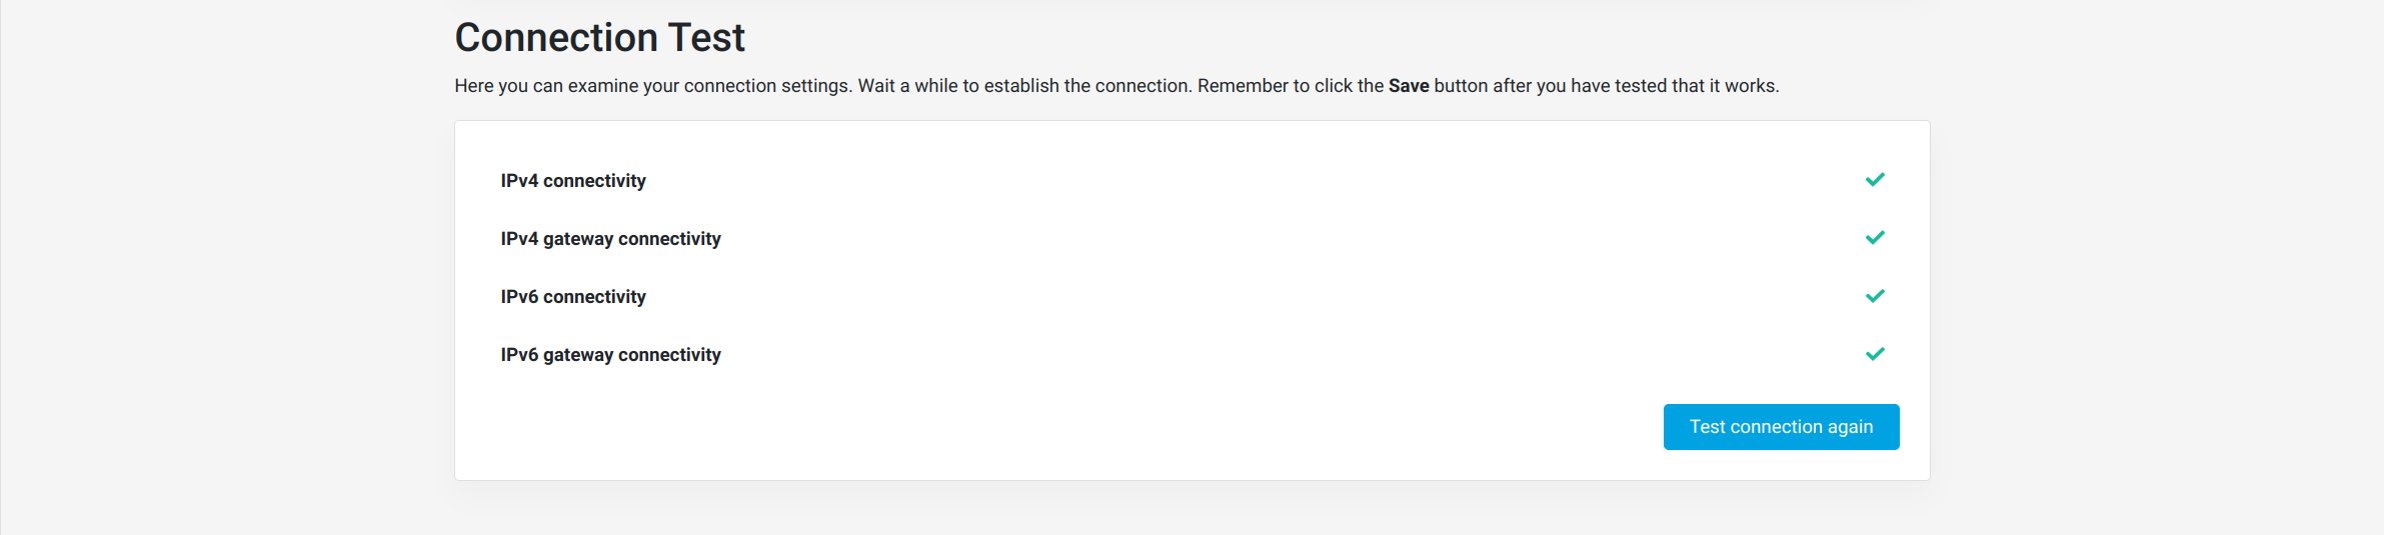
In most cases, with the default settings (automatic DHCP), you will do just fine for IPv4 and IPv6. For some corner cases, which your ISP should determine, you must follow whichever requirement they have. Before you save the setting, the Connection Test won’t work in this step.
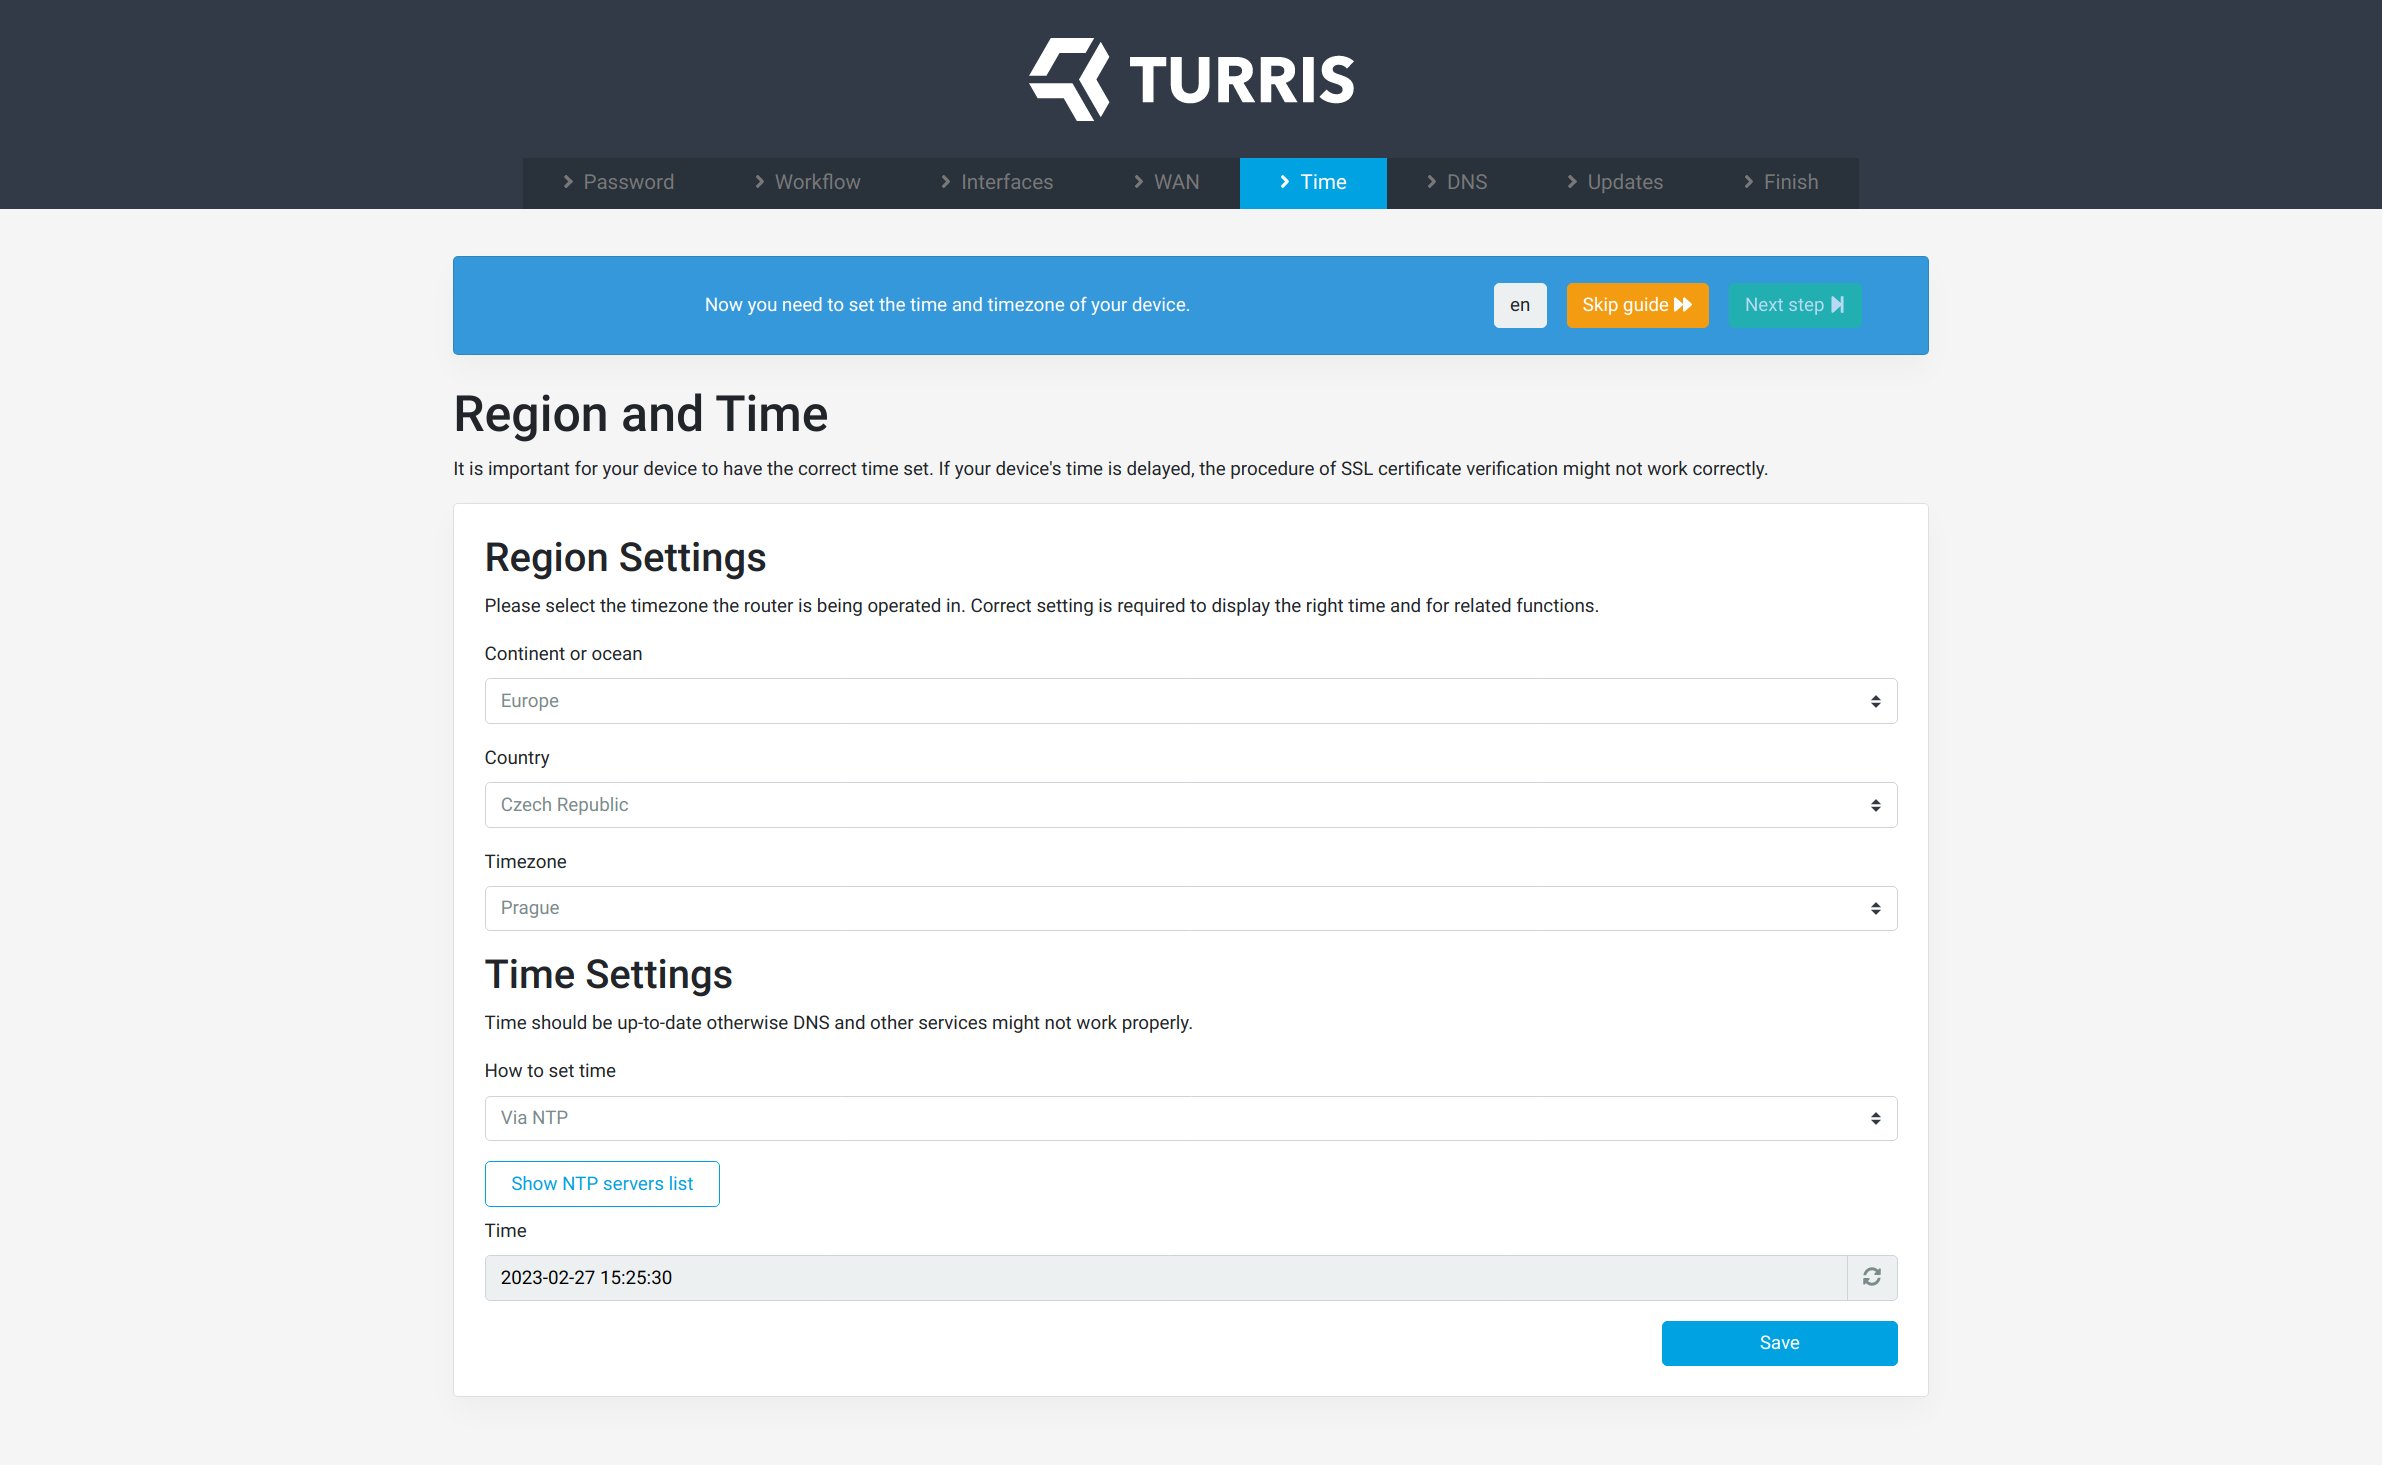
Region and Time⚓︎
You can override the default via the NTP option, but the default settings are also acceptable. Turris device determines the region from the network, and a query to the NTP server will automatically set your router system time.
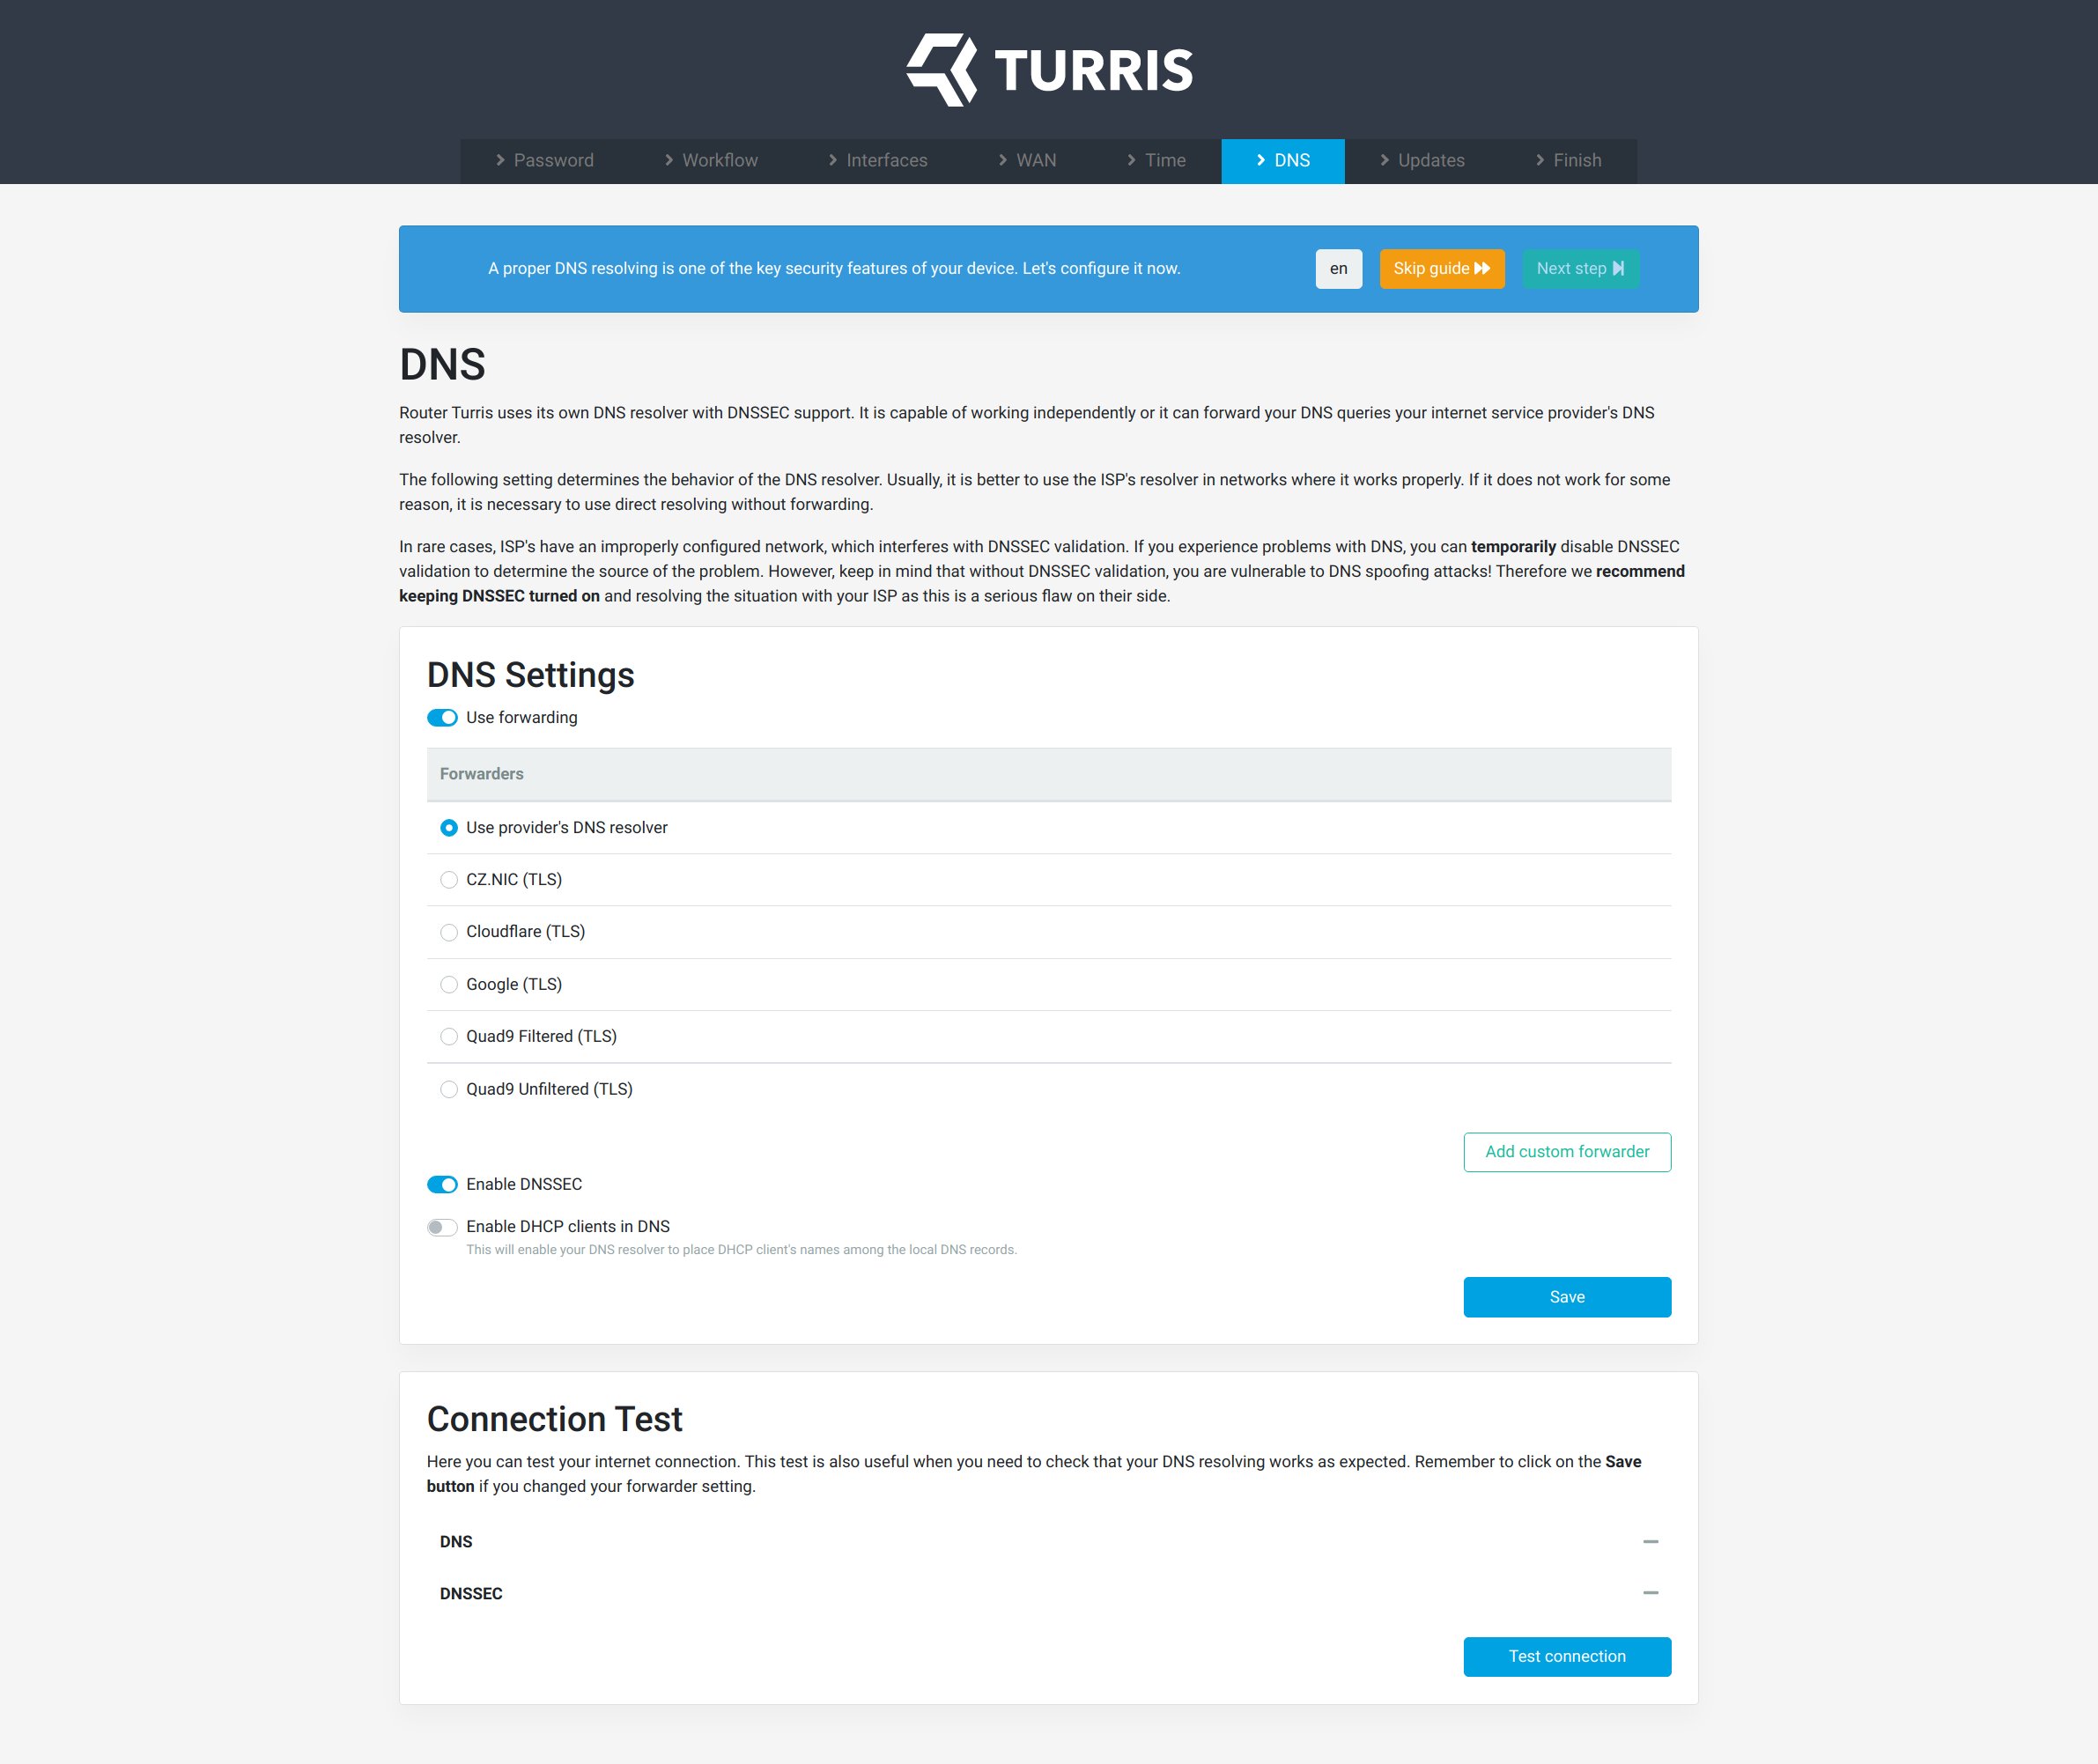
DNS⚓︎
You can configure DNS to use your custom forwarder. In most cases, the default setting is sufficient enough.
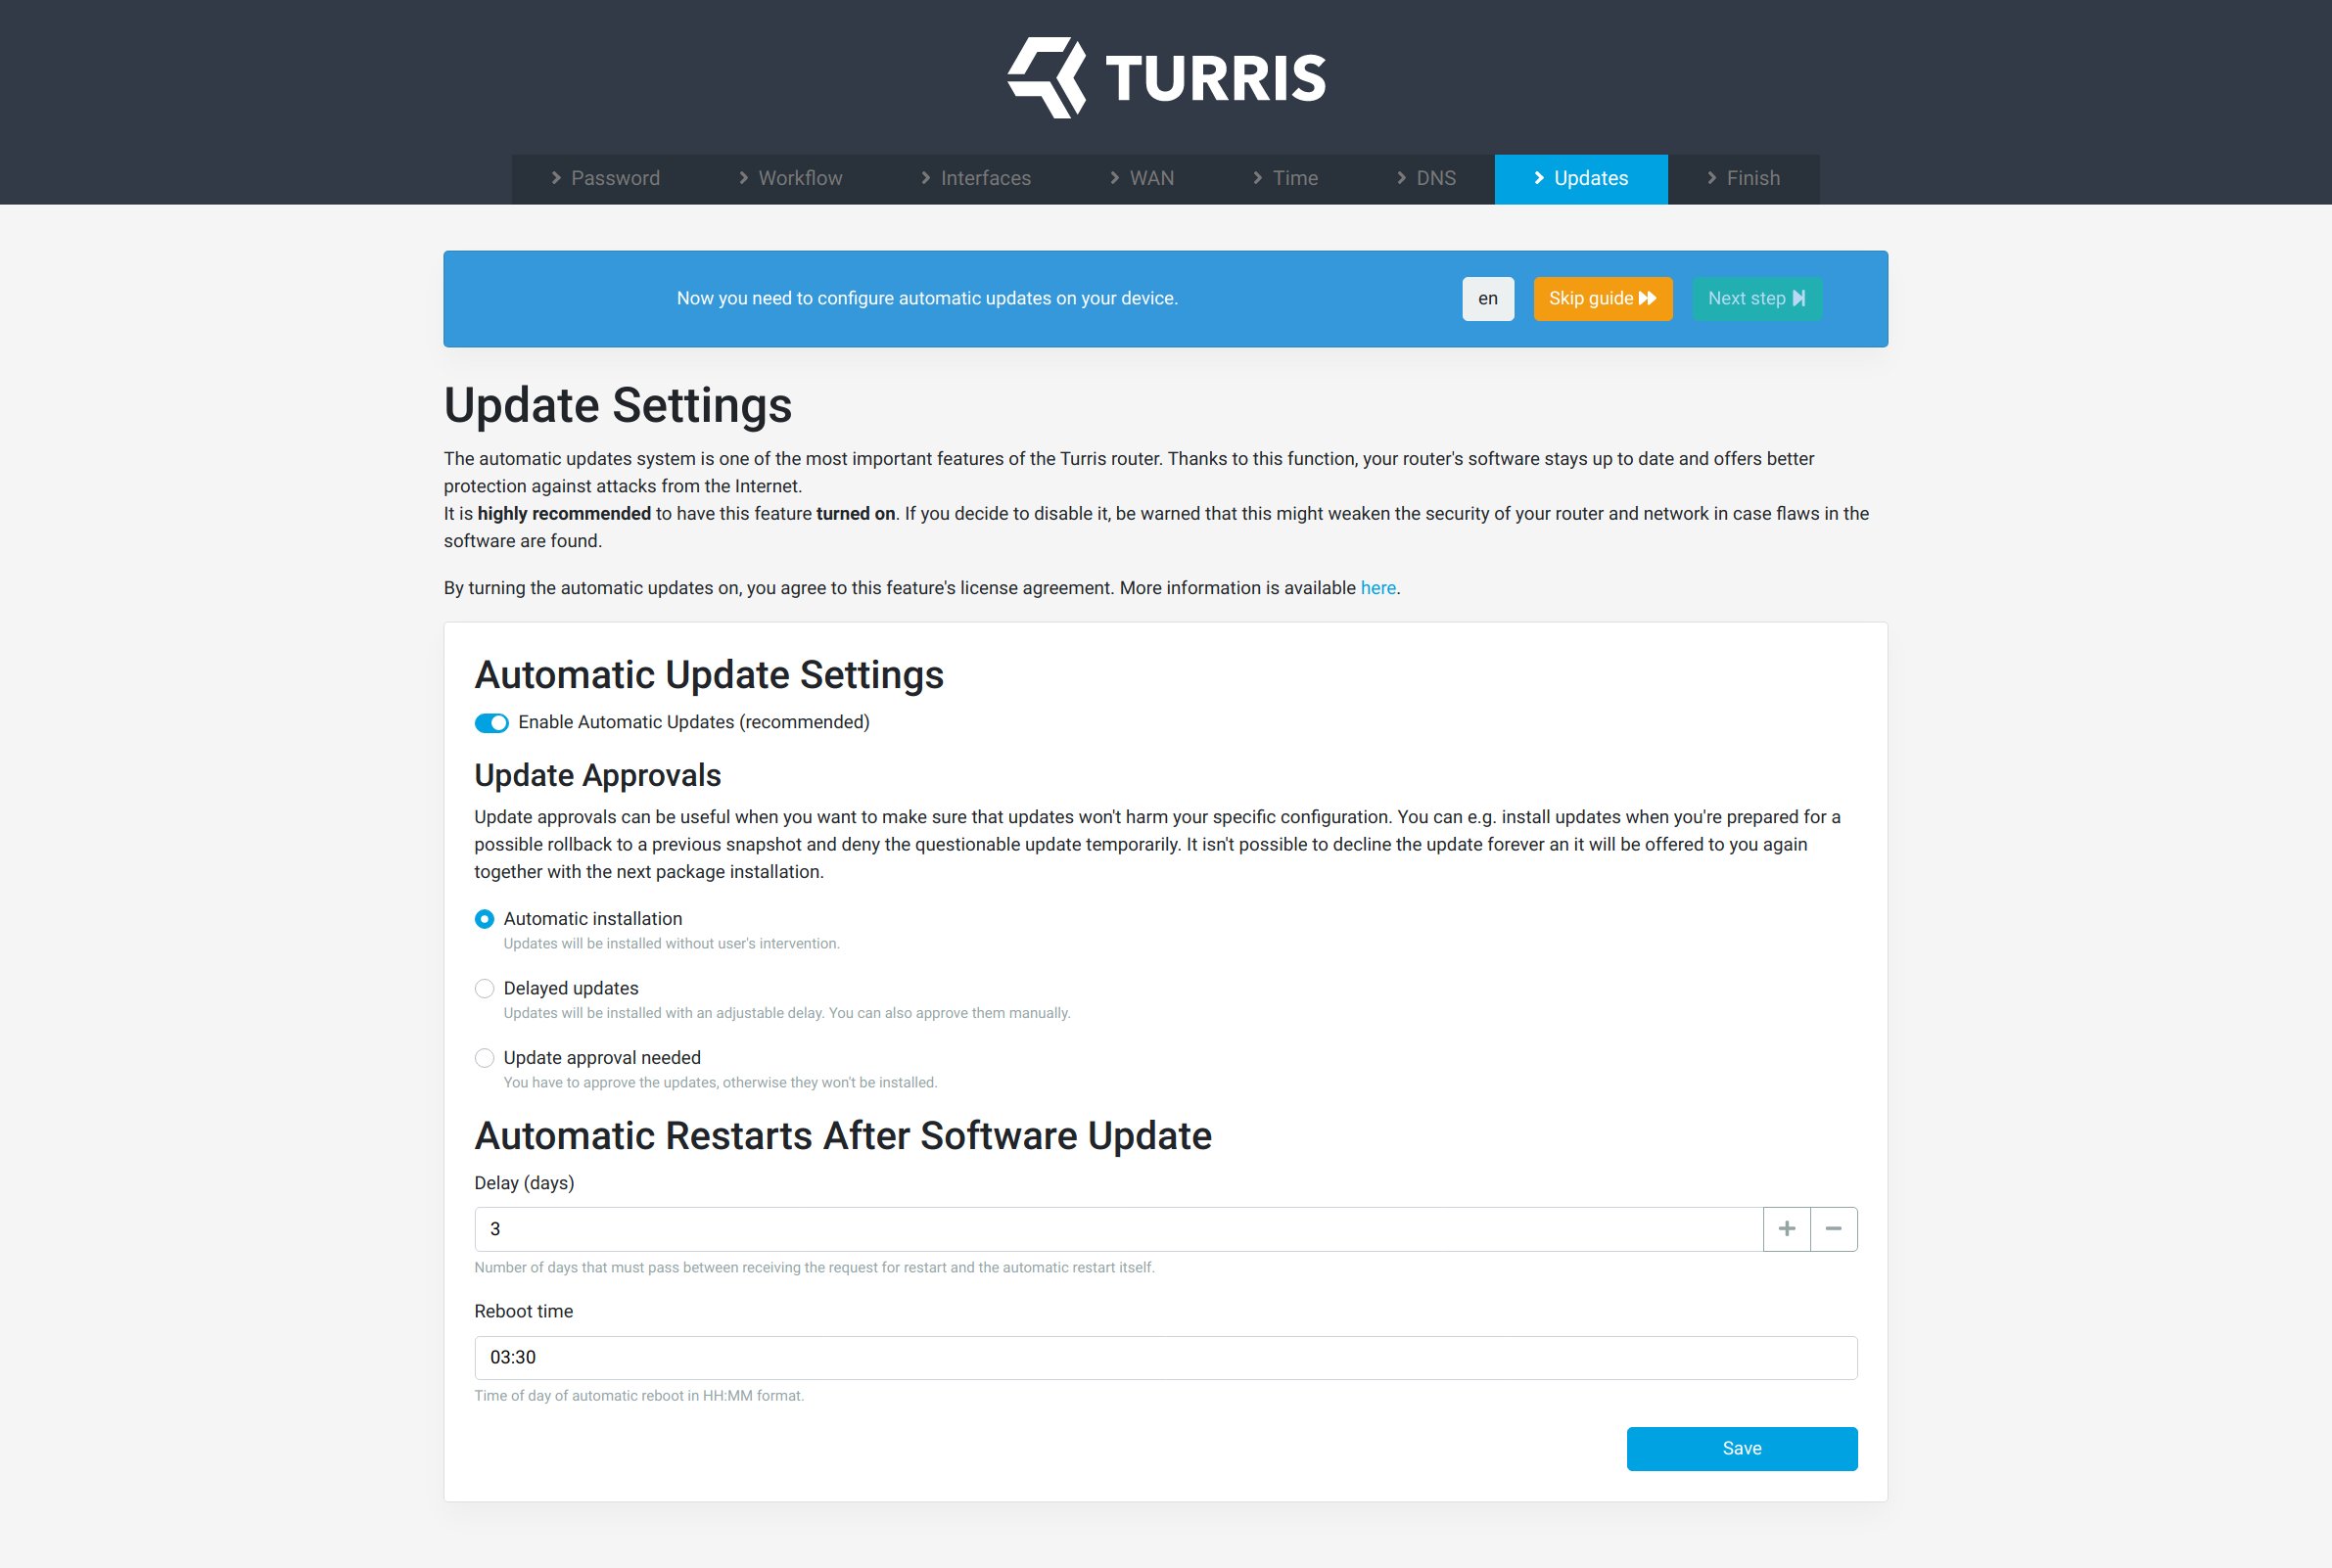
Update Settings⚓︎
Regular updates are an essential Turris feature. It is crucial to have all released updates delivered at the right time. If you keep settings as they are, nothing happens. The Delayed updates option lets you decide whether to relieve our server from the overload each update is triggered.
Tip
This will no longer be a concern as there is a feature in progress to control the delay in updates based on an algorithm.
Update approval⚓︎
In case you really like to have control when the router is updated, which you should, this option is for you.
Tip
In case you set the updates with the Update approval option, be sure to check the router regularly or set the notifications. This should help you track whether Turris device requires an update.
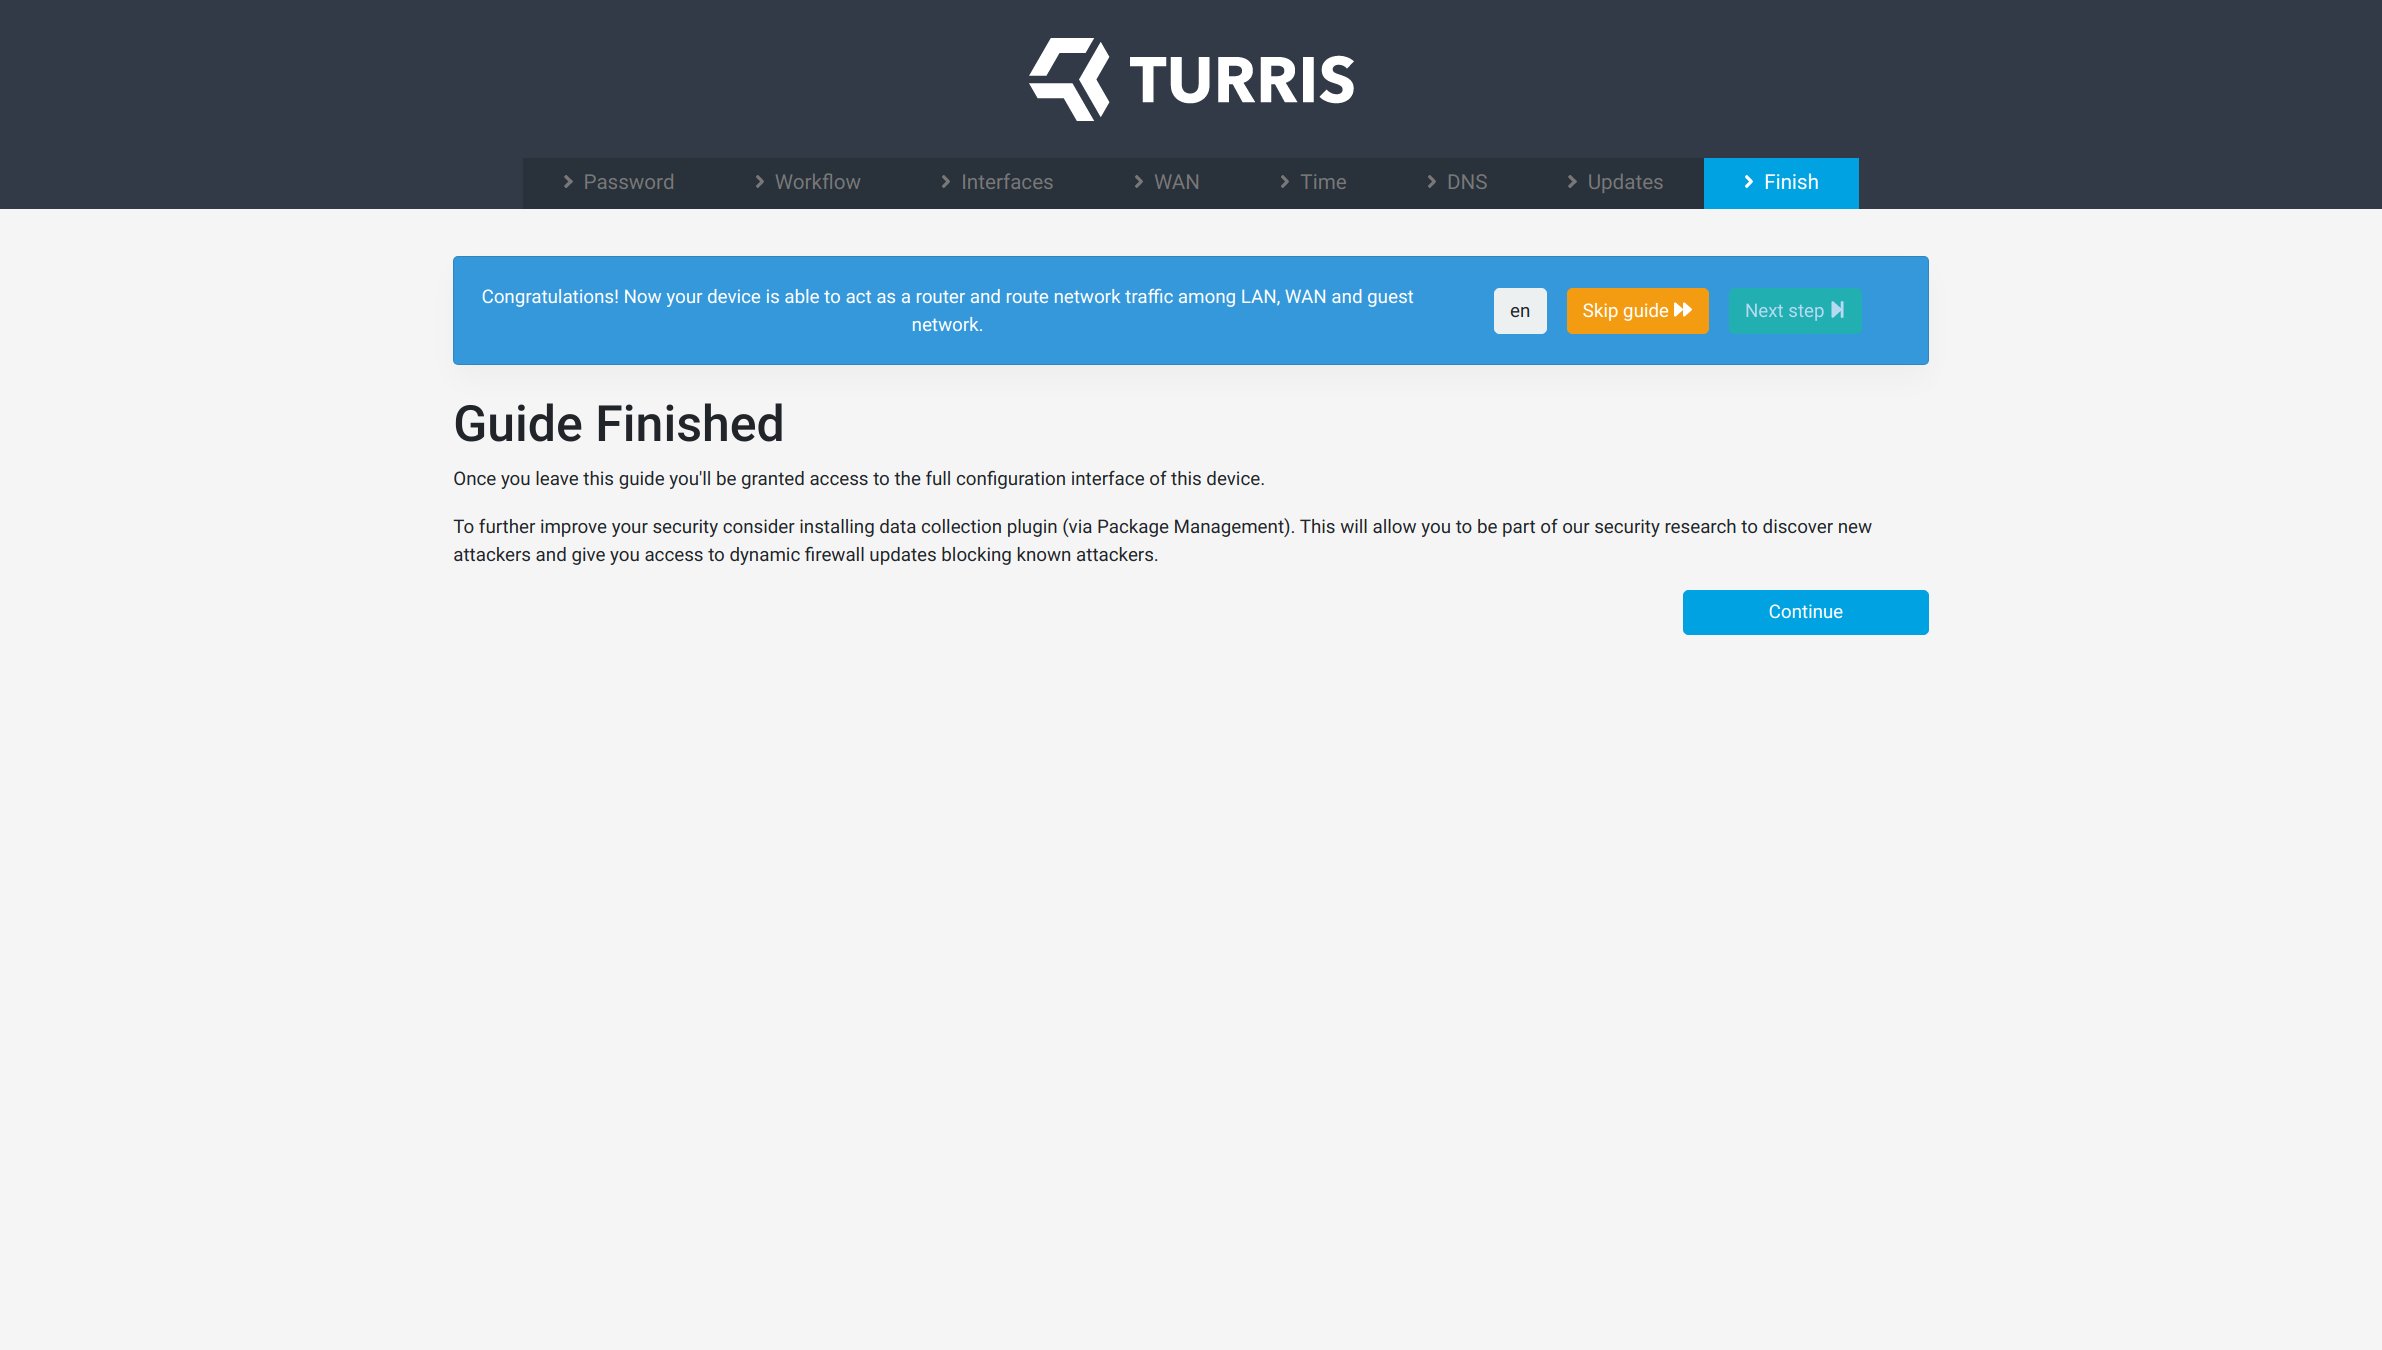
Conclusion⚓︎
Congratulations, you have your router set up. Now that you are done consider reviewing packages and installing what you need.
If you have a Shield device, use this guide instead.