LAN settings in reForis⚓︎
This section contains settings for the local network (LAN). The provided defaults are suitable for most networks.
Note
If you change the router IP address, all computers in LAN, probably including the one you are using now, will need to obtain a new IP address which does not happen immediately. It is recommended to disconnect and reconnect all LAN cables after submitting your changes to force the update. The next page will not load until you obtain a new IP from DHCP (if DHCP enabled) and you might need to refresh the page in your browser.

Basically, your Turris can act as a router or as a computer. The router means it interconnects the LAN with the other networks (or the Internet) and usually manages the LAN. The computer means it acts as a normal computer in the LAN. You should prefer the latter role if you want to use your Turris only as a NAS, DVB tuner, print server and so on.
Turris as a router⚓︎
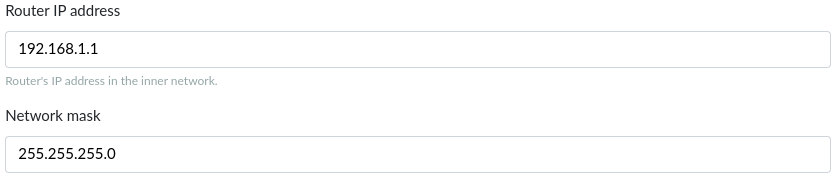
The default inner (LAN) address is 192.168.1.1. This is suitable for most networks but you may have a reason to change it (for example if your ISP uses addresses in the 192.168.1.0 network for itself although it is a very bad practice). Unless you have got assigned a block of public IPv4 addresses (which is currently very rare) you can choose one of private address ranges:
- 192.168.0.0 – 192.168.255.255
- 172.16.0.0 – 172.31.255.255
- 10.0.0.0 – 10.255.255.255
For example, you have chosen 192.168.2.0 with a 24-bit netmask (255.255.255.0; it means IP addresses from 192.168.2.0 up to 192.168.2.255, but both the first and the last one are left unused because of their special meaning) for your LAN. Then your router can have 192.168.2.1 as its LAN address. Fill it into the Router IP address text field. The field Network mask should contain 255.255.255.0 as written above.
DHCP server⚓︎
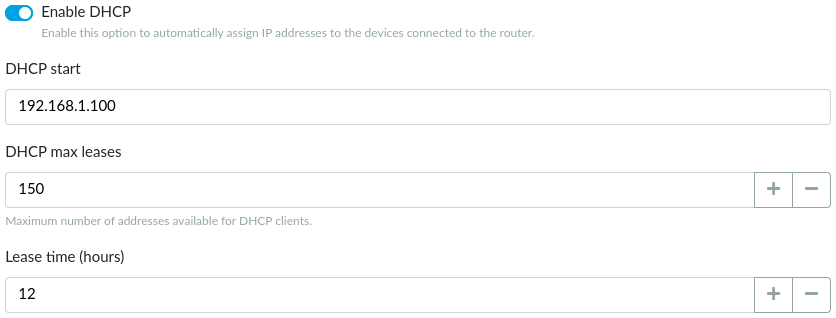
Unless you want to use static addresses in the whole LAN you need to have the DHCP server enabled. This is the default option. The DHCP server has three parameters:
- DHCP start – the first address inside the address space which may be leased (assigned) via DHCP. For example, if it is 100 and your network is 192.168.2.0 your DHCP leases addresses beginning 192.168.2.100. The default value 100 usually need not to be changed.
- DHCP max leases – the maximum addresses to be leased to computers. It effectively means if you have this value set to 150 (the default) and the first leased address is 192.168.2.100 the last one is 192.168.2.249.
- Lease time (hours) – this is how long an address is leased to a computer (the default is 12 hours and is suitable for most cases). If this value is too high and the computers in the LAN “rotate” very often (e.g. in an Internet café) the address space may be exhausted and new device will not get their addresses. Too low values may lead to frequent address changes and some networking problems.
List of DHCP clients⚓︎
The LAN section in reForis contains also the list of the current DHCP clients. It can be very useful for LAN administration and for tuning the DHCP server settings. You can see here which computers have leased which IP addresses, which hostnames they have and when those leases expire.
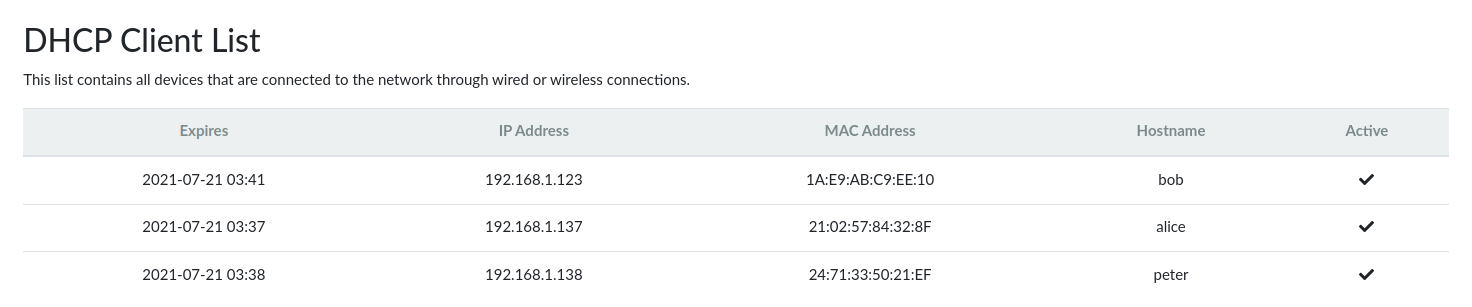
You can use the Search field to search for specific devices or the Columns pull-down menu to choose which columns to display in the list.
Turris as a computer⚓︎
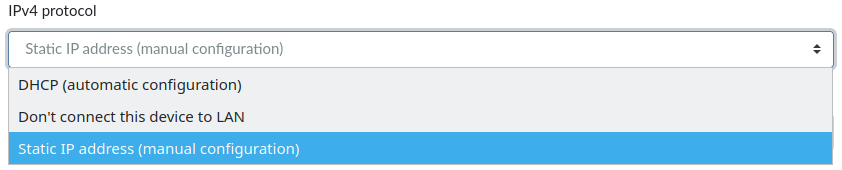
In this role, the LAN interface acts similarly to the WAN one. The main difference is that it opens ports for management interface and some other services. There are three modes of operation:
- DHCP (automatic configuration)
- Static IP address (manual configuration)
- Don’t connect this device to LAN
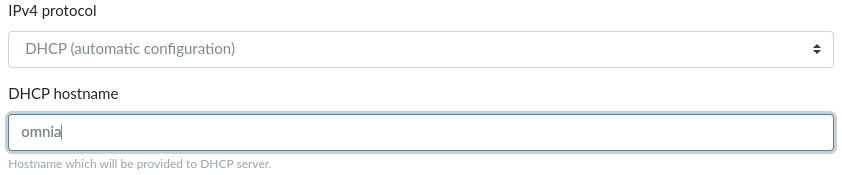
DHCP configuration⚓︎
The IP address (including the network mask), the default gateway and the DNS servers are acquired via DHCP.
In some cases, useage of a specific hostname may be required. Write it into the DHCP hostname field.
Static DHCP leases⚓︎
If you need to access a LAN device via its IP address, a static DHCP lease is the best practice. There are two ways how to set it:
- Make an existing lease static
- Add a new static lease
Static lease from existing one⚓︎
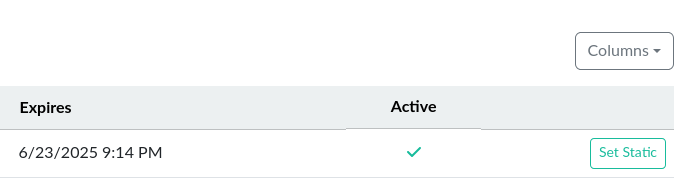
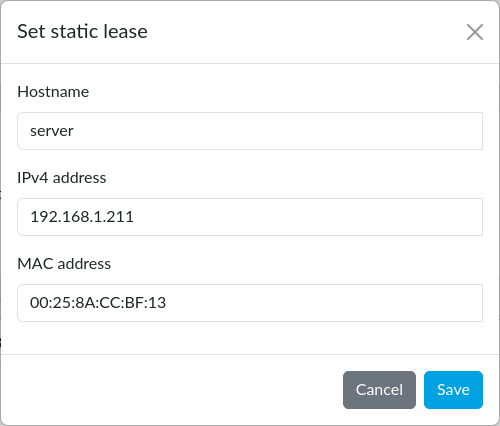
Find the lease you want to make static and press the Set Static button. A dialog will appear. You can modify the fields and then press the Save button.
- Hostname: The hostname for the given device
- IPv4 address: The IPv4 to be statically assigned
- MAC address: The device MAC address
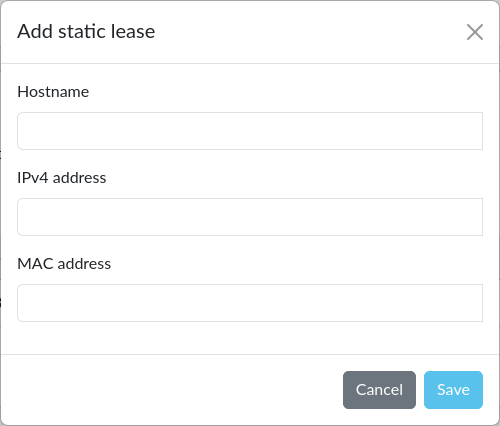
New static lease⚓︎
You can also create a new static lease for a device, that is not displayed in the list of DHCP clients. Simply press the Add static lease button. The dialog is the same as in the previous case, but it is empty before being filled in.
Important
You need to write the MAC address carefully. Otherwise, it will not work without any warnings.
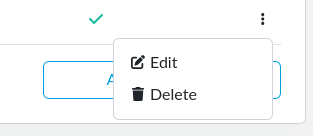
How to edit or delete static lease⚓︎
Click on the vertical ellipsis on the right side of the given item in the client list. A menu will appear, where you can choose Edit to edit the lease or Delete to delete the lease (without any confirmation).
Static IP address⚓︎
Although it is recommended to use static DHCP leases for static IPv4 addresses, it is also possible to define such addresses directly.
- IP address (mandatory) – it’s something like 192.168.5.122.
- Network mask (mandatory) – something like 255.255.255.0.
- Gateway (mandatory) – something like 192.168.5.1.
- DNS server 1 (IPv4) (optional) – may be left empty because there is a built-in DNS resolver capable to work without it. But some ISPs require customers to use specific DNS servers. In such case fill in the first of the addresses (or the only one) of your DNS servers/resolvers.
- DNS server 2 (IPv4) (optional) – if you have more than one server/resolver use the second one here.
